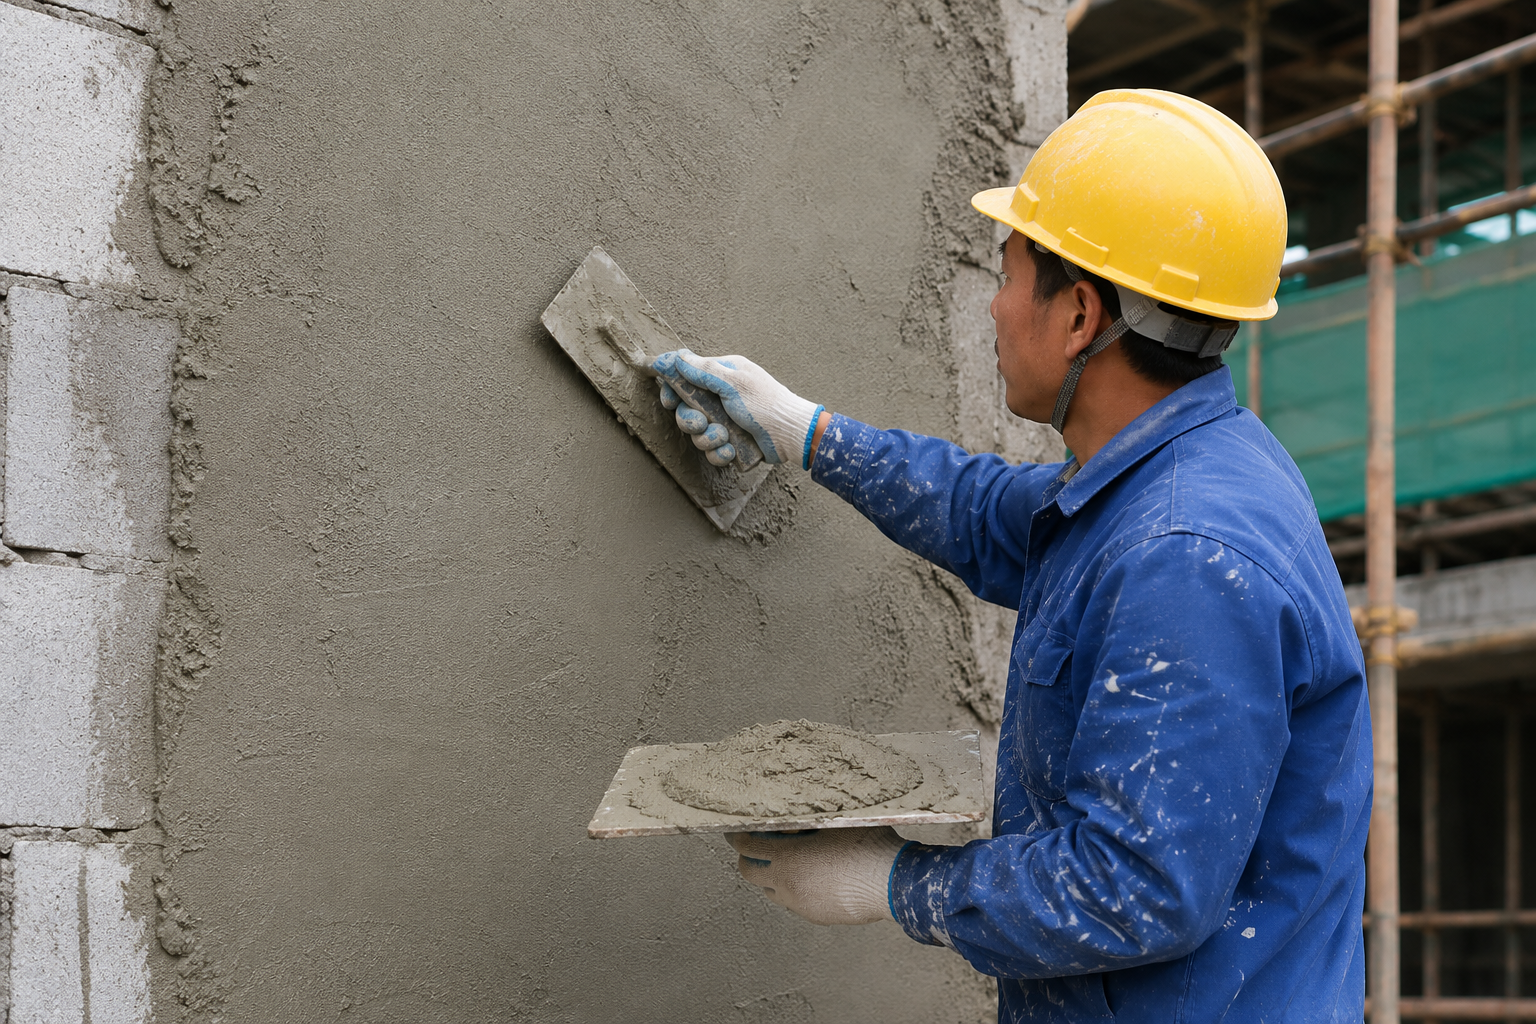
Wall putty application seems simple but many contractors make costly mistakes. I've seen projects delayed and walls damaged because of improper application techniques.
Wall putty is a white cement-based powder mixed with water to create a paste used to fill wall imperfections, creating a smooth surface before painting. It enhances paint adhesion, prevents moisture damage, and extends the life of your paint job.
I've been in the construction materials industry for over 15 years, and proper wall putty application is crucial for a flawless finish. Let me share the correct techniques I've learned to help you avoid common pitfalls and achieve professional results.
What Is Wall Putty And What Is Its Use?
Many contractors waste money on paint because they skip proper wall putty application. This creates uneven surfaces and poor finishes that require costly fixes.
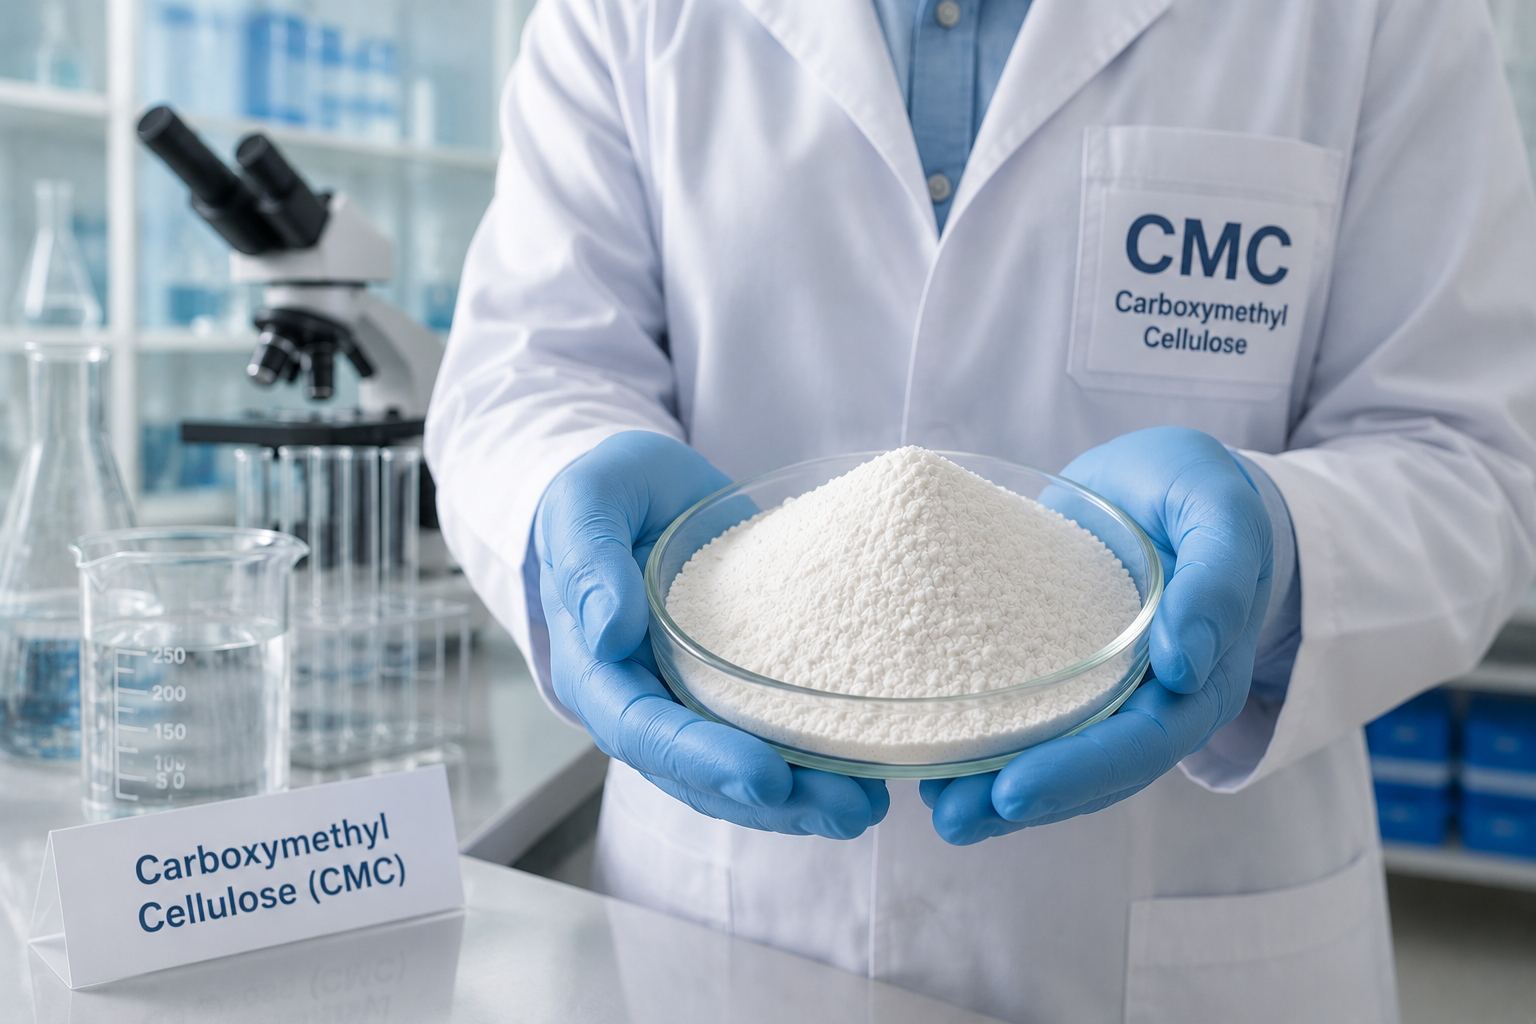
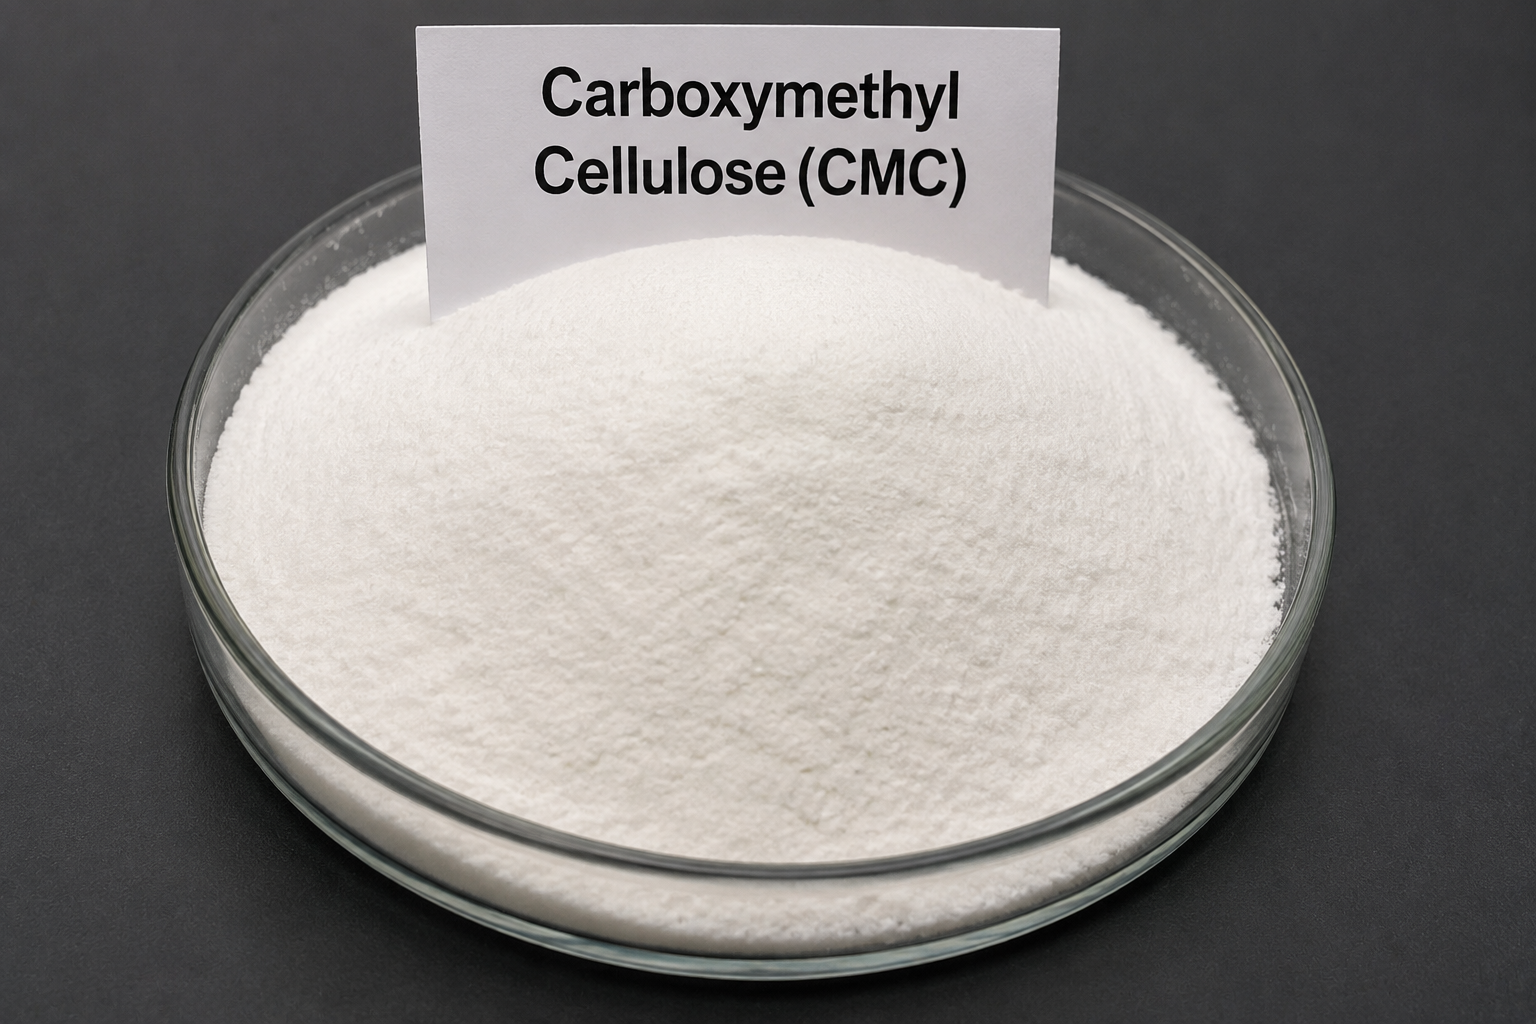
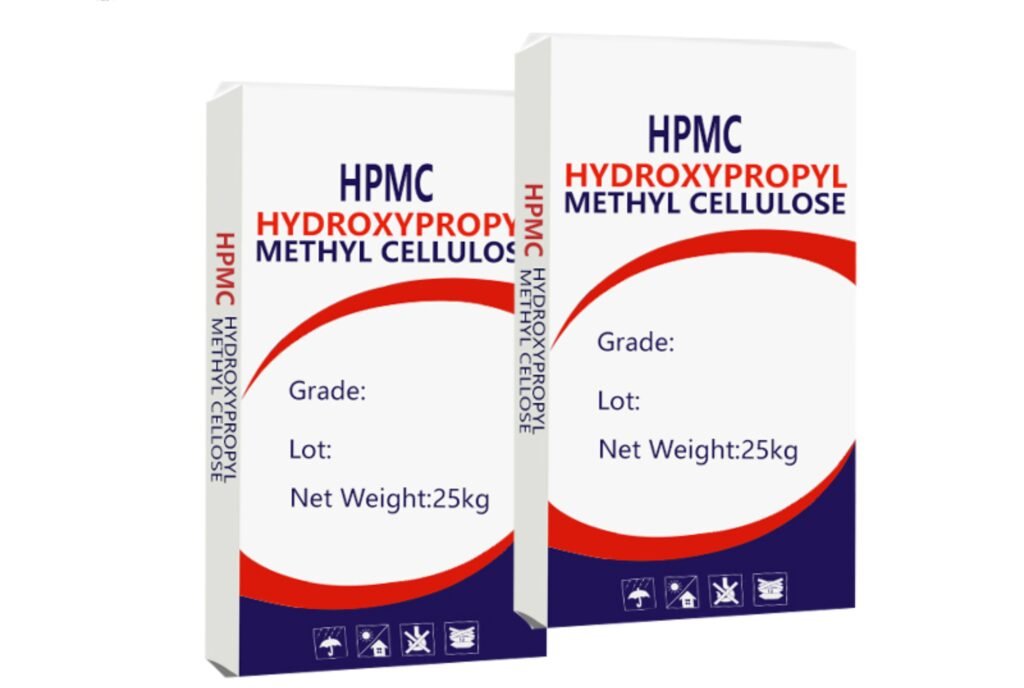
Wall putty1 is a fine powder mixture containing HPMC2, cement, minerals, and polymers that creates a smooth base for paint application. It fills minor cracks and pores, prevents moisture penetration, improves paint adhesion, and reduces paint consumption by 10-15%.
Our factory has produced high-quality HPMC for wall putty for over a decade, and I've personally seen how the right formulation makes a difference. Wall putty serves multiple important functions that many users don't fully appreciate:
Key Benefits of Quality Wall Putty
| Benefit | Description | Impact |
|---|---|---|
| Surface Smoothing | Fills tiny holes, cracks and surface irregularities | Creates perfectly smooth painting surface |
| Moisture Protection | Acts as a barrier against water seepage | Prevents dampness and mold growth |
| Enhanced Durability | Strengthens the wall surface | Extends paint life by 30-40% |
| Paint Economy | Creates non-absorbent base | Reduces paint consumption significantly |
| Finishing Quality | Provides uniform surface texture | Ensures even paint appearance |
I visited a client in Saudi Arabia last year who had been experiencing paint peeling issues. When we examined the walls, the problem was clear - they had used low-quality putty with insufficient HPMC content. After switching to our putty formulation with premium HPMC, their paint adhesion problems disappeared completely.
How To Use Wall Putty Correctly: Avoid Common Mistakes?
I've watched contractors ruin entire walls by applying putty incorrectly. These mistakes waste materials, time, and ultimately lead to customer complaints.
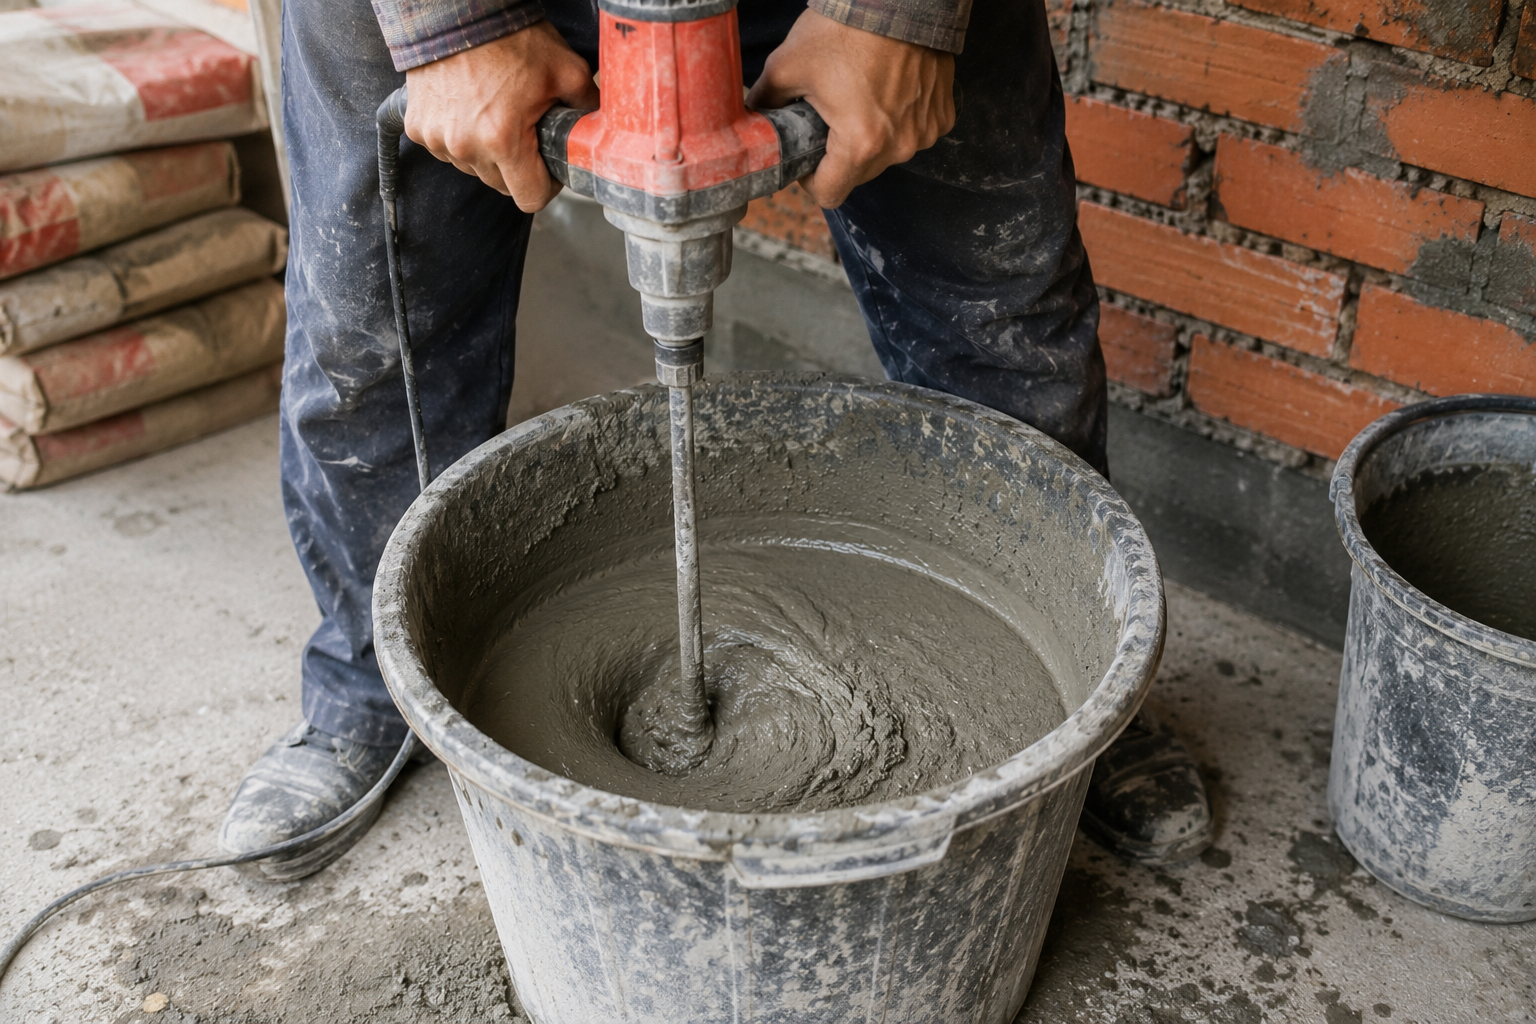
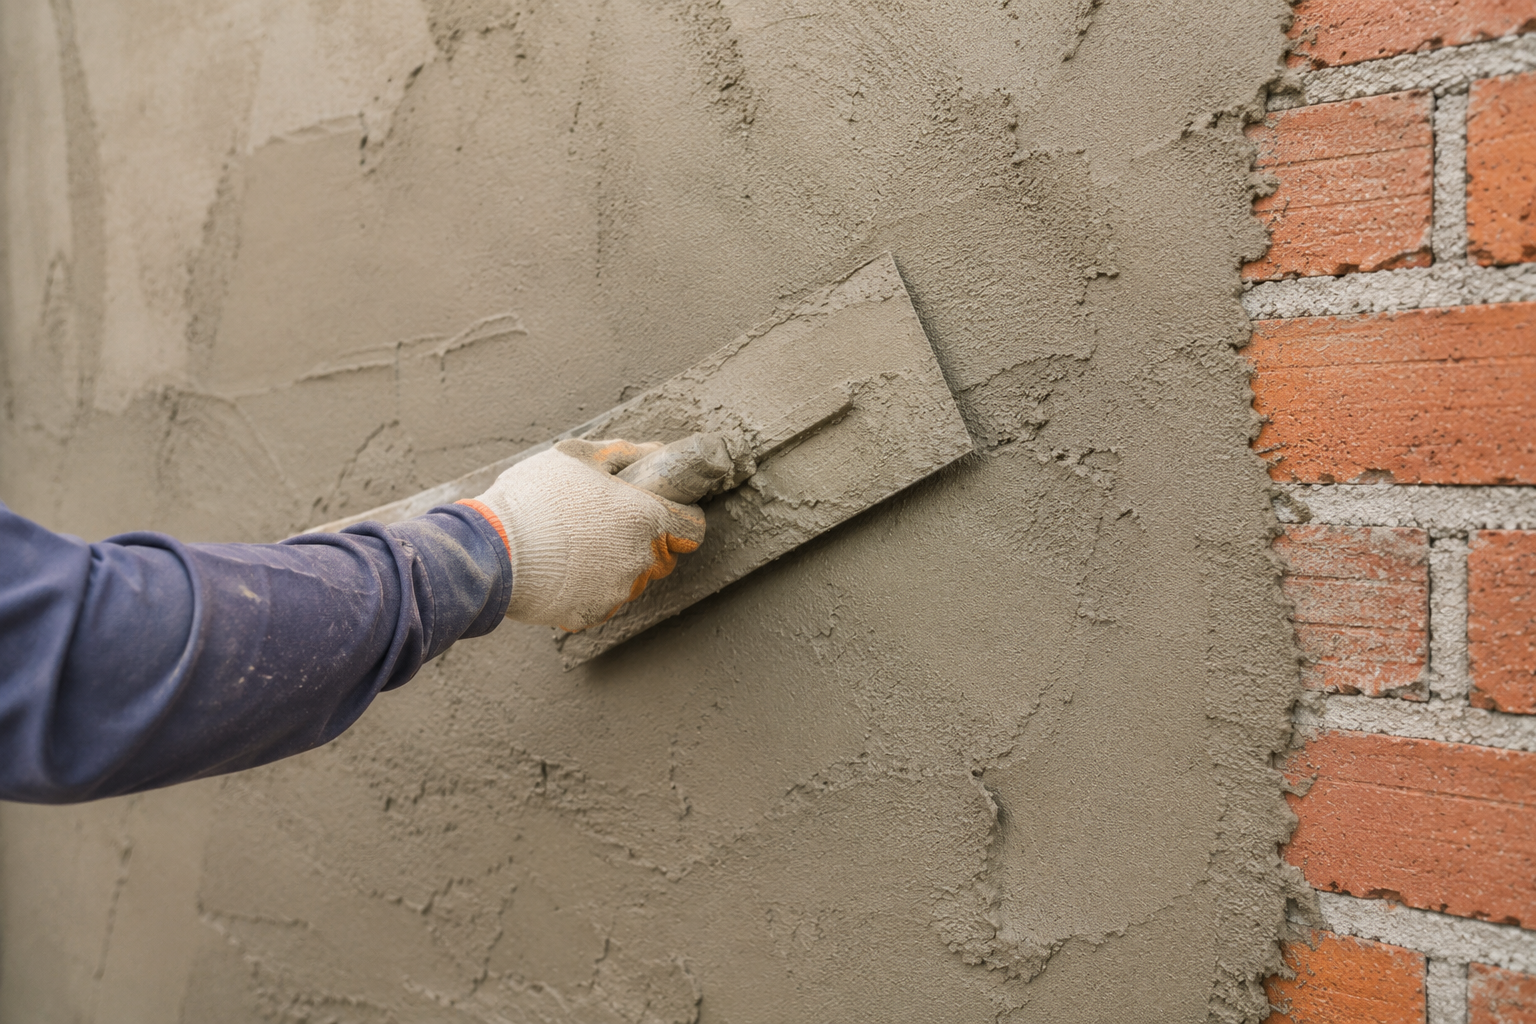
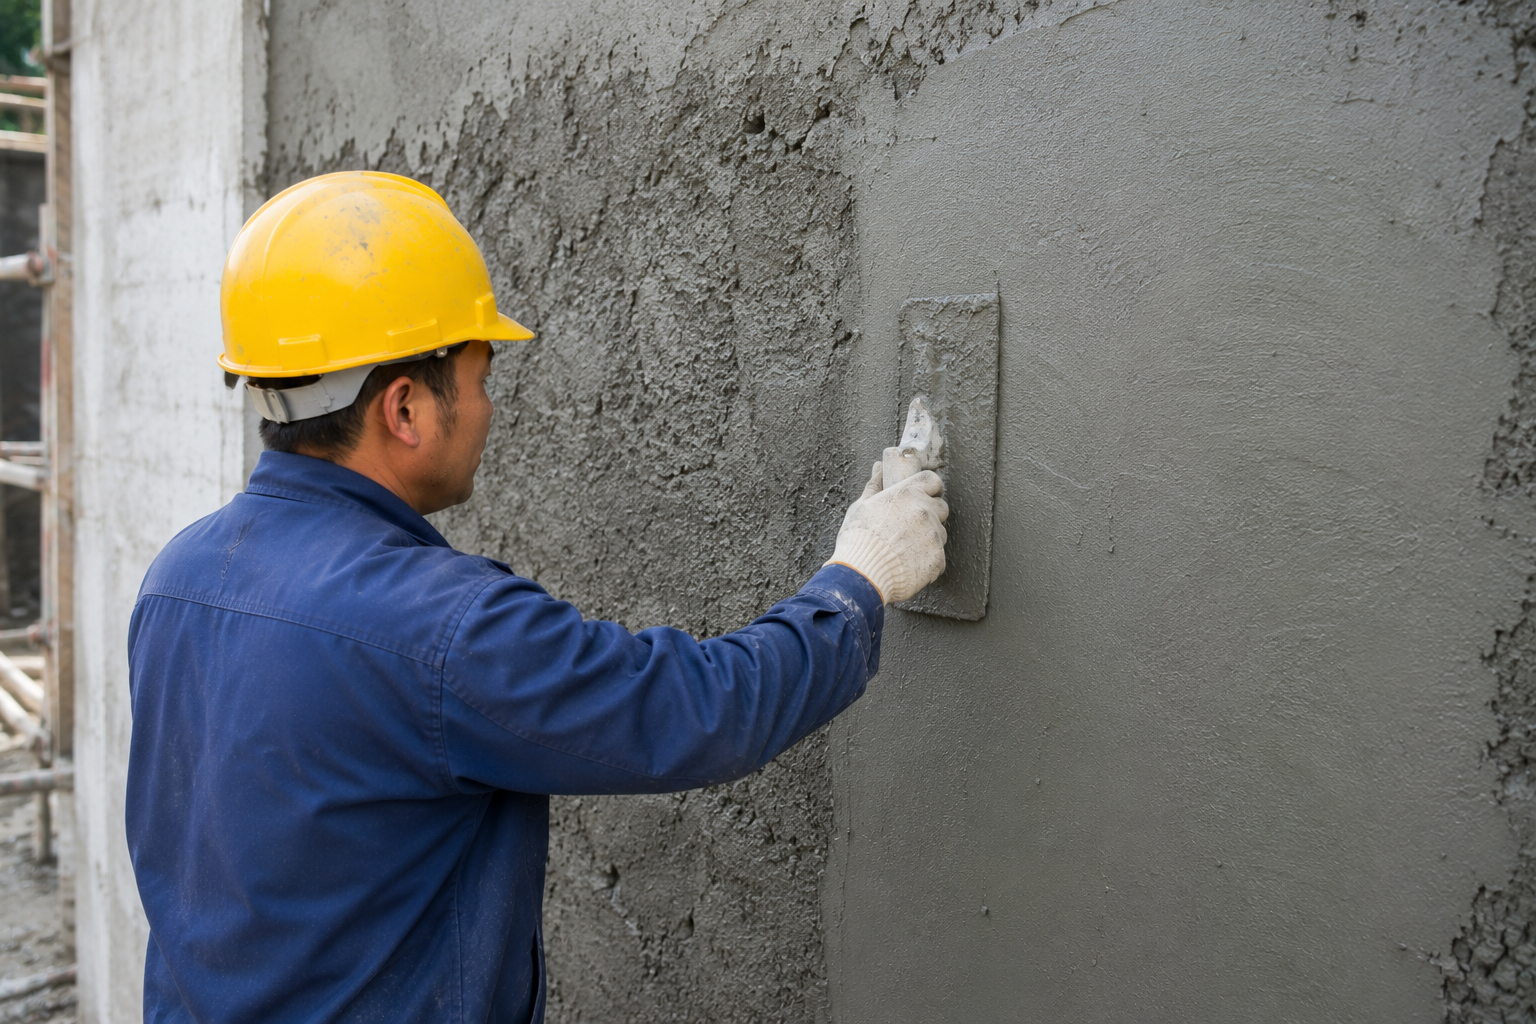
To use wall putty correctly, ensure walls are clean and dampened before application, mix only what you can use within 2 hours, apply thin layers (max 1.5mm) with proper tools, and allow complete drying between coats. Never apply in extreme temperatures.

My experience visiting construction sites across developing countries has shown me that proper technique matters as much as quality materials. Here are the most common mistakes I see and how to avoid them:
Critical Mistakes to Avoid When Applying Wall Putty
| Mistake | Consequence | Correct Approach |
|---|---|---|
| Using putty on dirty surfaces | Poor adhesion and peeling | Clean walls thoroughly, remove dust and loose particles |
| Applying thick single coats | Cracking and extended drying time | Apply multiple thin layers (max 1.5mm each) |
| Improper mixing ratio | Weak bonding and poor finish | Follow manufacturer's exact water-to-putty ratio |
| Skipping wall dampening | Putty dries too quickly, poor adhesion | Lightly sprinkle water on walls before application |
| Using expired/lumpy putty | Uneven finish, application difficulties | Use fresh putty, store properly sealed in dry place |
| Sanding before complete drying | Surface damage, uneven finish | Allow 24-48 hours drying time before sanding |
During a technical training session I conducted in UAE last month, I demonstrated the proper mixing technique. The difference was immediately visible - contractors who followed the exact ratios achieved a smooth, workable paste, while those using "eyeball measurements" created either too runny or too thick mixtures that were difficult to apply evenly.
Wall Putty Application Procedure: From Preparation To Application?
Many projects fail because people rush through preparation steps. I've seen beautiful homes ruined by contractors who skimp on proper wall putty application procedures.
The correct wall putty application procedure includes: clean and repair the wall surface, dampen it lightly, mix putty powder with clean water to a smooth paste, apply first thin coat with a putty knife, let dry for 6-8 hours, apply second coat, allow 24 hours drying, and sand gently for a perfect finish.

Having visited hundreds of construction sites across developing markets, I've developed a comprehensive application procedure that ensures optimal results. This is the exact process I recommend to all our clients:
Detailed Wall Putty Application Process
Preparation Phase
- Wall Cleaning: Remove old paint, wallpaper, and loose particles. Wash with mild detergent solution to remove grease or oil.
- Repair Work: Fill major cracks or holes with cement mortar and allow to dry completely.
- Dampen the Surface: Sprinkle clean water lightly on the wall. This prevents the wall from absorbing moisture from the putty too quickly.
- Material Preparation: Gather all necessary tools - putty knife, trowel, sandpaper (120-150 grit), mixing container, and clean water.
Application Phase
- Mixing: Add 40-45% clean water to the putty powder gradually while stirring to avoid lumps. Mix until you achieve a smooth, paste-like consistency.
- First Coat: Apply a thin layer (about 1mm) using upward strokes with the putty knife, ensuring even pressure.
- Drying Time: Allow 6-8 hours drying time, depending on climate conditions.
- Second Coat: Apply another thin layer perpendicular to the first coat for even coverage.
- Final Drying: Allow at least 24 hours before proceeding to sanding.
- Sanding: Use fine sandpaper (150-180 grit) to gently smooth the surface.
- Dust Removal: Wipe the surface with a slightly damp cloth to remove sanding dust.
I witnessed a remarkable transformation in a hotel renovation project in Pakistan where following this exact procedure resulted in walls so smooth that the luxury paint finish appeared almost mirror-like. The contractor later told me they had previously used shortcuts that always resulted in callbacks and repairs.
How To Use Wall Putty Video?
Many contractors make mistakes because they learn application from uncertified sources. I've seen countless projects ruined because people followed incorrect video tutorials.
Quality wall putty application videos should demonstrate proper wall preparation, exact mixing ratios, correct tool usage, application techniques for different surfaces3, drying times, and finishing procedures. Look for videos from manufacturers or certified professionals rather than amateur sources.
In my experience educating contractors across markets like Saudi Arabia, UAE, and India, visual learning makes a significant difference in application quality. When selecting instructional videos, I recommend focusing on these key educational aspects:
Critical Elements of Effective Wall Putty Application Videos
| Content Element | What to Look For | Why It Matters |
|---|---|---|
| Presenter Credentials | Industry certification or manufacturer training | Ensures technically accurate information |
| Surface Preparation | Detailed cleaning and repair demonstrations | Foundation for successful application |
| Mixing Demonstration | Precise measurements and proper consistency tests | Prevents common mixing errors |
| Tool Techniques | Proper holding and movement of putty knives/trowels | Affects smoothness and coverage |
| Layer Thickness | Visual guides showing correct application depth | Prevents cracking and extended drying |
| Climate Considerations | Adjustments for temperature and humidity | Critical for proper curing |
| Common Mistakes | Examples of incorrect applications and fixes | Helps troubleshoot problems |
| Finishing Techniques | Proper sanding methods and dust removal | Ensures paint-ready surface |
At our factory, we've developed comprehensive training videos that incorporate all these elements. We saw application quality improve by 40% among our distributor network after implementing these visual training materials. One major Saudi Arabian paint manufacturer reported a 65% reduction in customer callbacks after requiring their contractors to watch our certified application videos.
How To Use Wall Putty: Important Reminders?
I've seen perfect putty jobs ruined in the final stages due to overlooked details. Simple reminders can save you from costly rework and disappointed clients.
Important wall putty reminders: never apply in direct sunlight or on extremely hot/cold surfaces, use only clean tools and water, don't mix more than you can use within 2 hours, ensure complete drying before painting, and store unused putty powder in a dry place in sealed containers.

After years of technical support visits to our clients' work sites, I've compiled these essential reminders that make the difference between professional results and amateur mistakes:
Critical Reminders for Professional Wall Putty Application
Environmental Considerations
- Temperature Matters: Apply between 10°C-35°C (50°F-95°F) for optimal results
- Humidity Awareness: High humidity extends drying time; extreme dryness may require additional wall dampening
- Avoid Direct Sunlight: Sun exposure during application can cause uneven drying and cracking
- Ventilation: Ensure good airflow but avoid direct drafts that may cause dust contamination
Material Handling
- Shelf Life: Check manufacturing date; most putties remain effective for 6-12 months
- Storage: Keep in dry location, elevated from floor, and in sealed containers
- Batch Consistency: For large projects, use putty from the same production batch for color uniformity
- Water Quality: Always use clean, potable water for mixing
Application Nuances
- Edge Treatment: Pay special attention to corners and edges where defects are most visible
- Tool Cleanliness: Clean tools immediately after use and between mixing batches
- Wall Assessment: Different wall materials (concrete, brick, plaster) may require specific techniques
- Test Area: Always test application on a small area before proceeding with entire wall
During a recent consultation with a major project in Mexico, I identified that their recurring surface bubbling problem was due to applying putty during the hottest part of the day. By simply shifting application times to early morning, they eliminated the issue completely and saved thousands in rework costs.
Conclusion
Proper wall putty application creates smooth, durable surfaces that enhance paint appearance and longevity. Follow the correct preparation, application techniques, and drying times for professional results. Your walls will thank you with years of beautiful, trouble-free service.
- Explore the benefits of wall putty to understand how it enhances paint application and reduces costs. ↩
- Learn about HPMC's role in wall putty to appreciate its importance in achieving a smooth finish. ↩
- Learning specific techniques for various surfaces can enhance your skills and ensure a professional finish. ↩