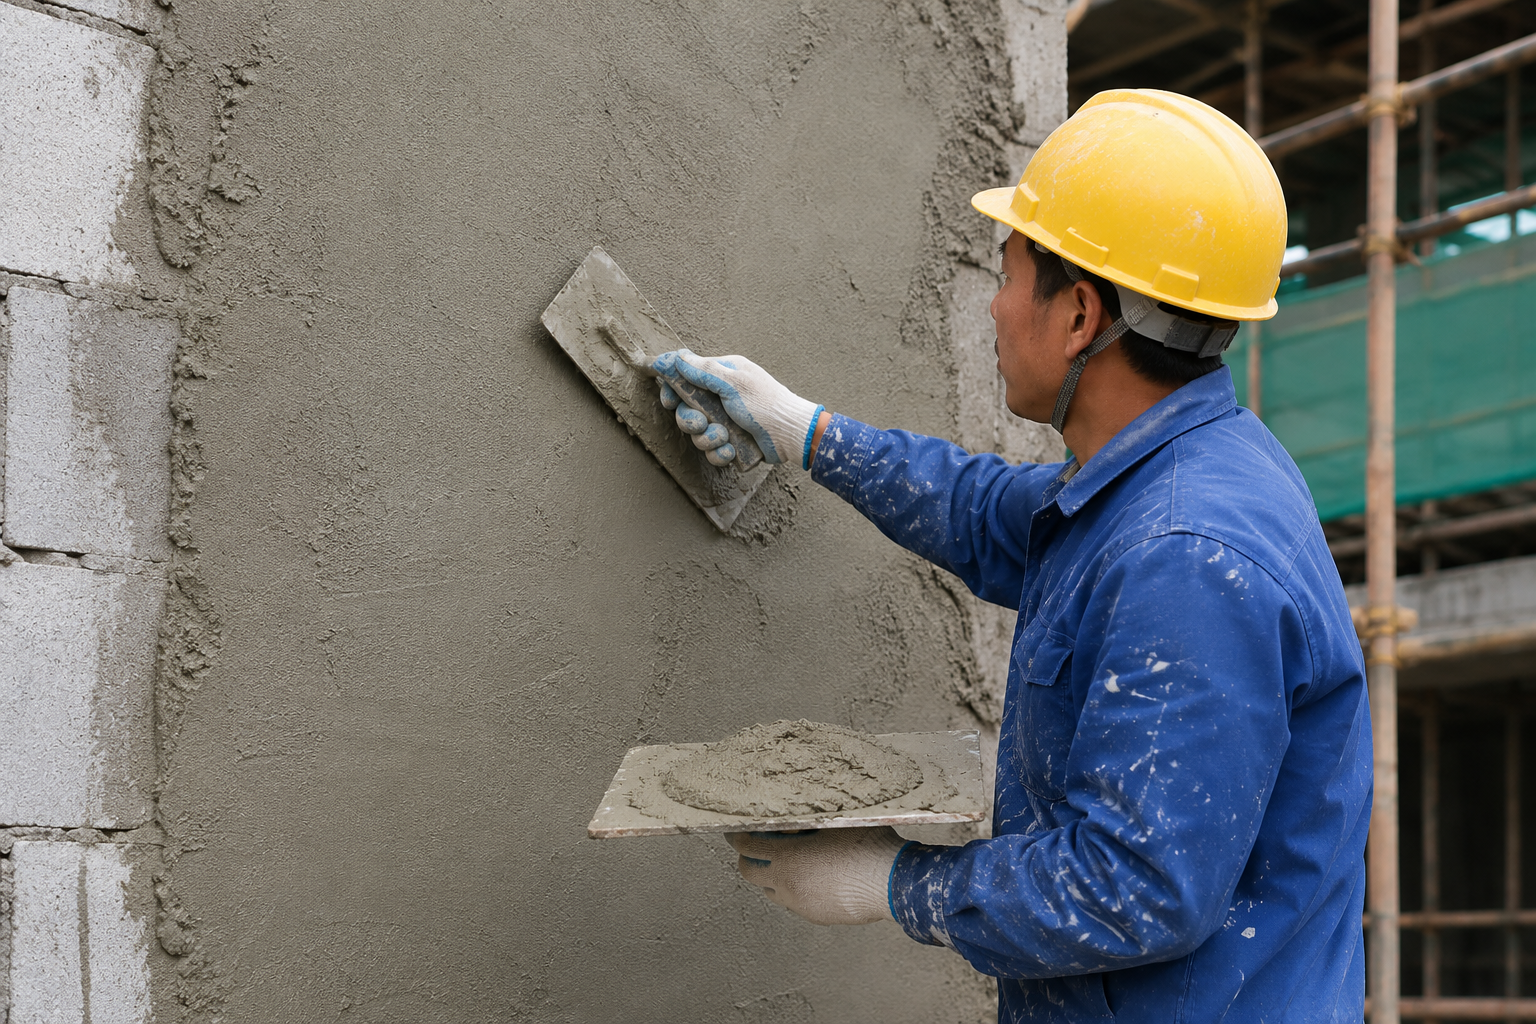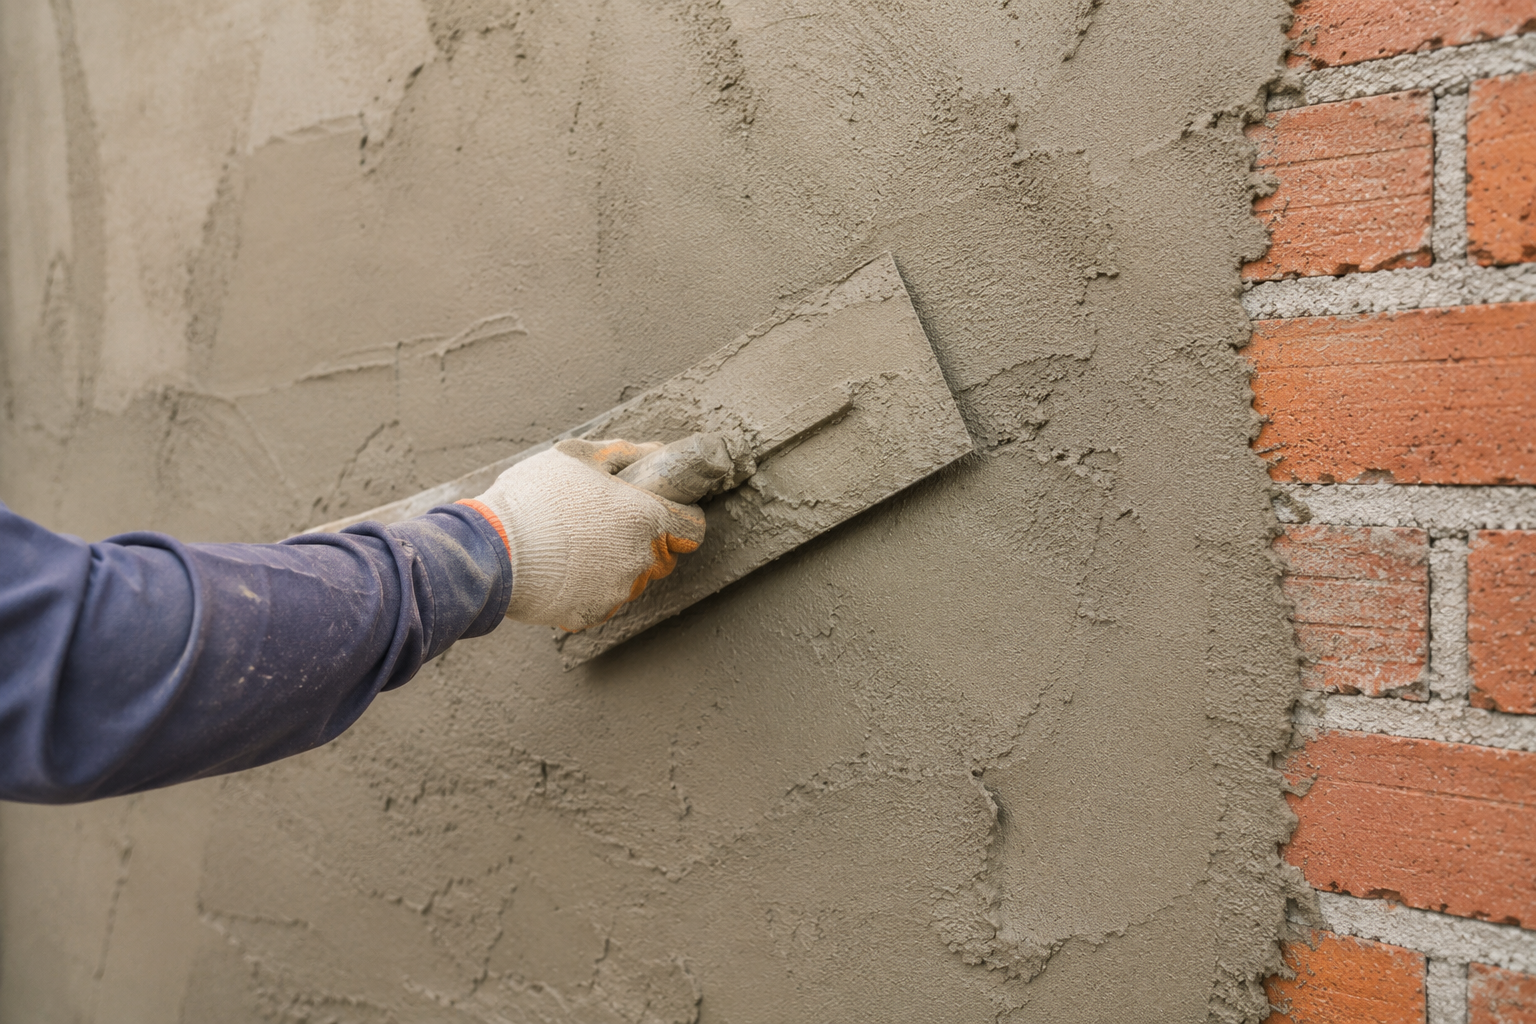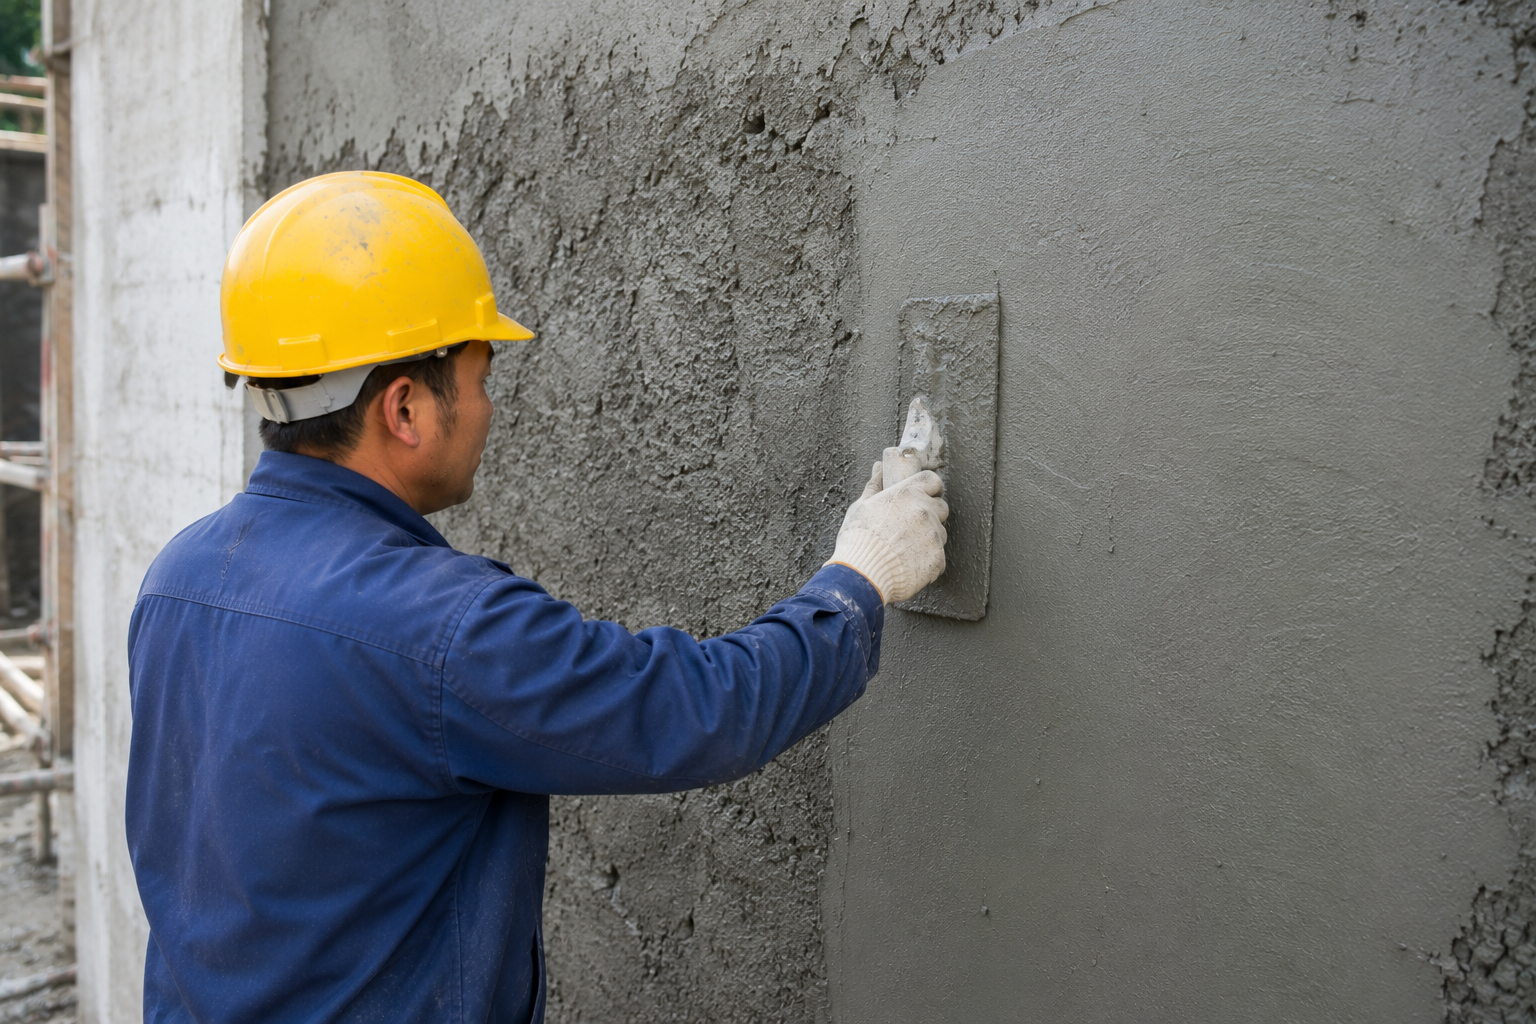
Walls cracking shortly after renovation is every homeowner's nightmare. You've spent time and money on a perfect finish, only to watch unsightly cracks appear within months, leaving you frustrated and facing costly repairs.
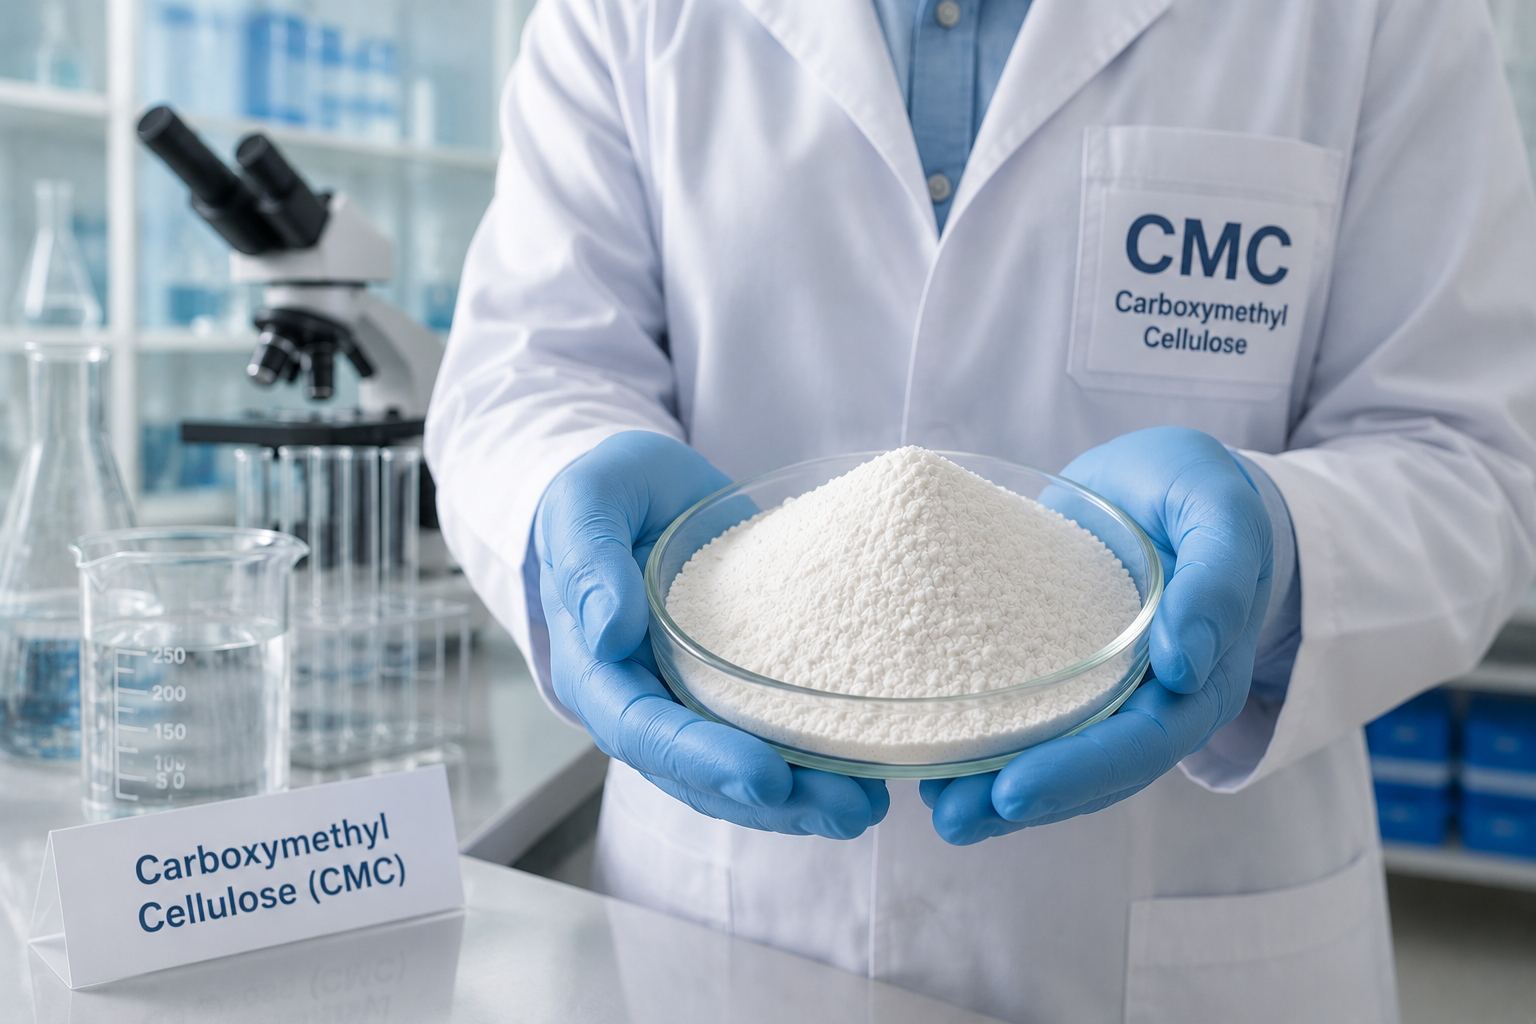
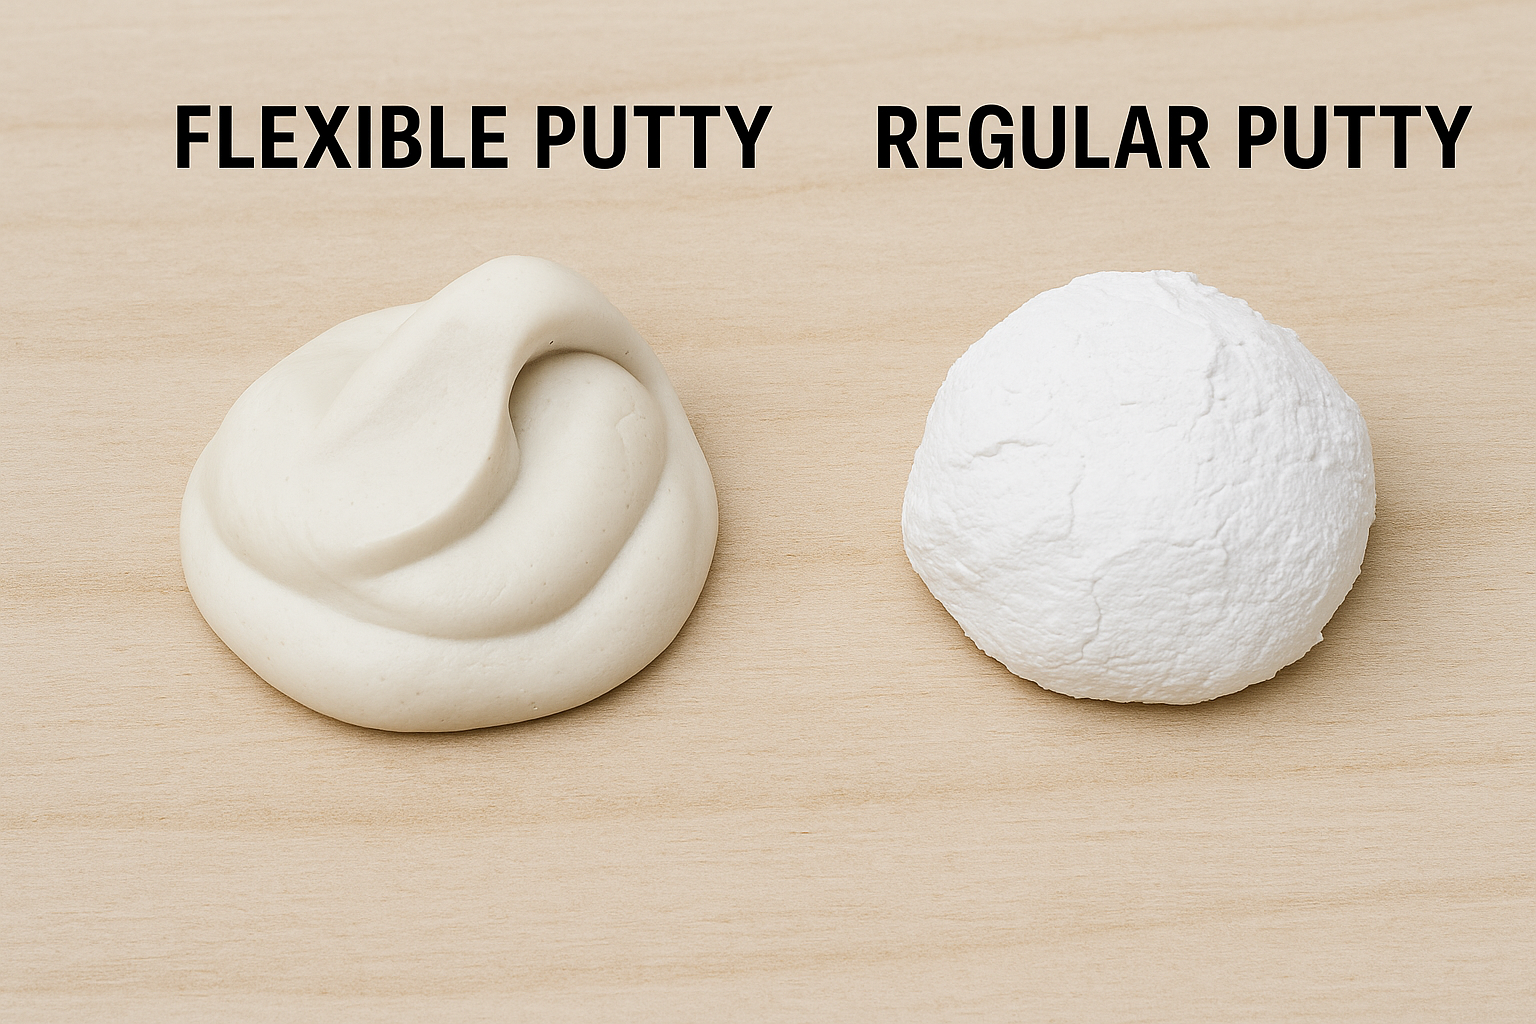
The difference between flexible putty1 and regular putty lies in their composition and behavior. Regular putty is rigid and brittle, made primarily of inorganic materials, while flexible putty contains polymer additives2 that create elasticity, allowing it to expand and contract with the wall surface, significantly reducing crack formation.

I've spent years working with various construction materials, and if there's one thing I've learned, it's that understanding the science behind building materials can save you thousands in repairs. Let's explore why flexible putty offers superior crack resistance and how this knowledge can help your next project succeed perfectly.
How to prevent putty from cracking?
Homeowners often face frustrating cracks appearing in their walls just months after application. These unsightly lines not only ruin the aesthetic appeal but suggest deeper structural issues that might be developing.
To prevent putty from cracking, use flexible putty containing polymers like redispersible polymer powder, apply it in thin layers rather than one thick coat, ensure proper surface preparation, maintain optimal temperature and humidity during application, and allow adequate drying time between coats.

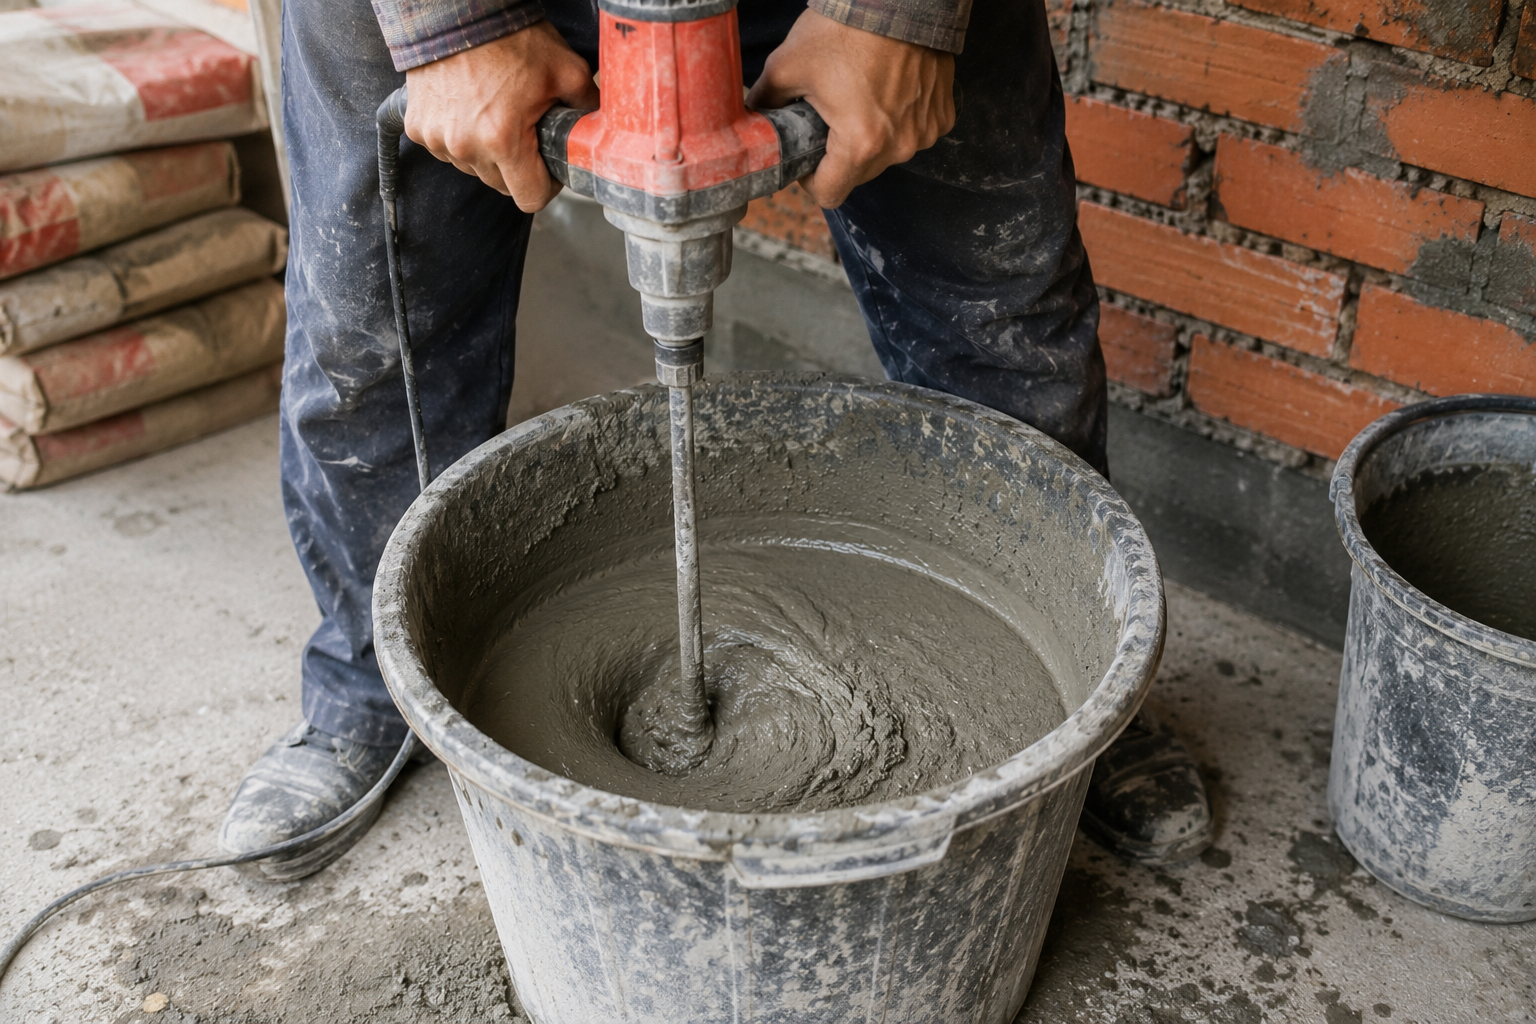
The key to crack prevention lies in understanding both your materials and application technique. Flexible putty works by forming an invisible elastic network within the material. When I first started working with building materials, I didn't appreciate how significantly temperature fluctuations affect wall surfaces. Now I know that walls are constantly moving – expanding in heat and contracting in cold. This movement, though microscopic, puts tremendous stress on rigid materials.
Factors Affecting Putty Cracking
| Factor | Impact | Prevention Method |
|---|---|---|
| Temperature Fluctuations | Causes expansion and contraction | Use flexible putty with polymer content |
| Building Settlement | Creates stress on wall surfaces | Apply putty in thinner, multiple layers |
| Moisture Changes | Can cause material brittleness | Ensure proper surface sealing before application |
| Poor Surface Preparation | Reduces adhesion | Clean, prime, and prepare surfaces thoroughly |
| Incorrect Mixing | Alters material properties | Follow manufacturer instructions precisely |
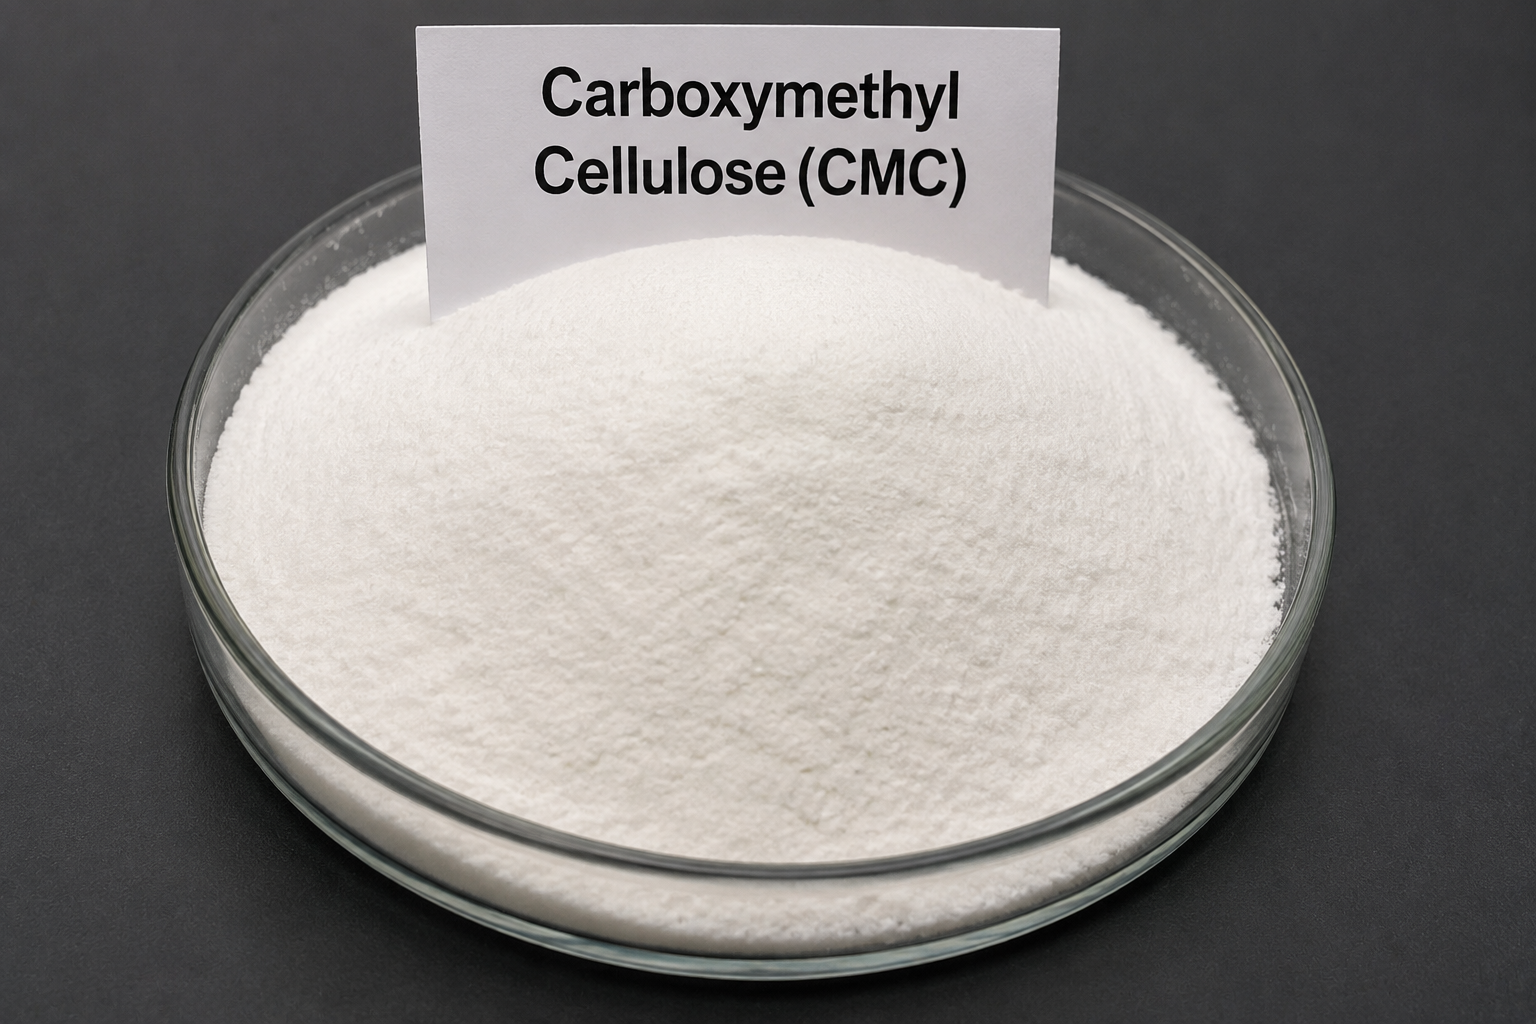
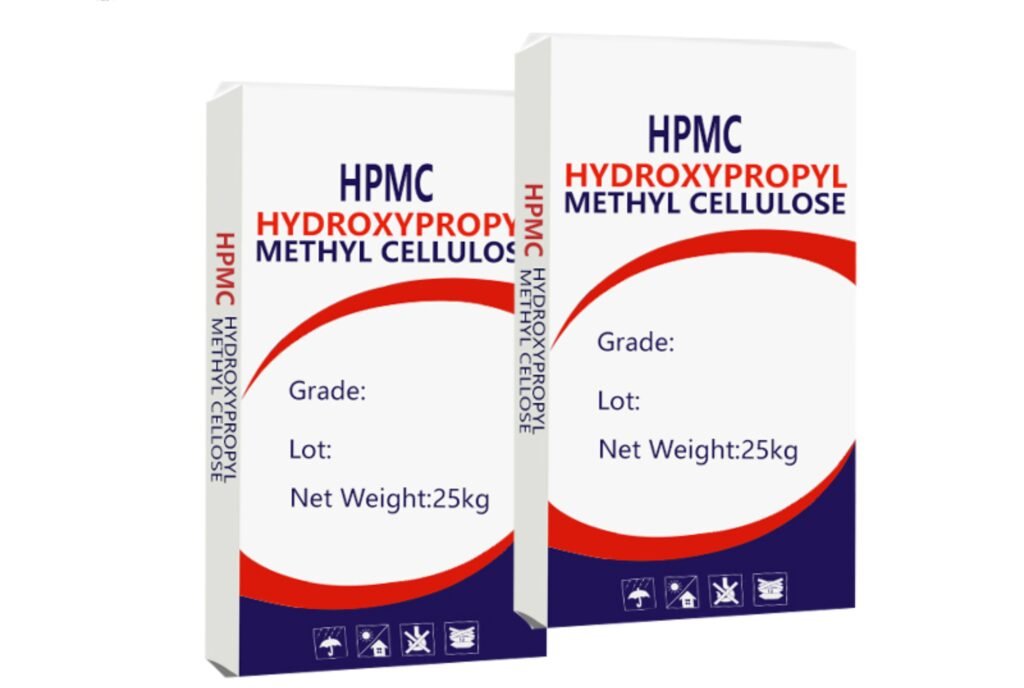
The addition of high-molecular polymers3 (typically HPMC and redispersible polymer powder) creates a three-dimensional elastic network throughout the putty. This network functions like microscopic springs, absorbing movement stress rather than fighting against it. When walls shift slightly due to temperature changes or settling, flexible putty stretches and rebounds instead of cracking under pressure. This is why professional contractors increasingly prefer these advanced formulations, especially in areas with extreme temperature variations or new construction where settlement is expected.
What putty to use to seal crack?
Finding the right putty for existing cracks can be overwhelming with so many products claiming superior results. Using the wrong type can lead to recurring problems and wasted money on repeated repairs.
For sealing existing cracks, use elastomeric putty with high polymer content (at least 5-8% redispersible polymer powder) for moving cracks, and fiber-reinforced flexible putty1 for static cracks. For hairline cracks, acrylic-based flexible putty works well, while deep structural cracks require specialized wall repair compounds.

The science behind crack sealing is fascinating and practical. Different cracks require different solutions based on their cause and behavior. I once worked on a project where repeated attempts to fix cracks failed until we properly analyzed their root cause and matched the appropriate putty type.
Crack Classification and Putty Selection
| Crack Type | Characteristics | Recommended Putty Type | Key Ingredients |
|---|---|---|---|
| Active/Moving Cracks | Width changes over time | Highly elastic putty | High polymer content (8-10%) |
| Static Cracks | Stable width | Fiber-reinforced putty | Cellulose fibers + polymers |
| Hairline Cracks | Very thin, surface-level | Acrylic flexible putty | HPMC + acrylic polymers |
| Corner Cracks | At wall junctions | Corner-specific flexible putty | High adhesion polymers |
| Structural Cracks | Deep, possibly structural issues | Specialized repair compounds | Epoxy or polyurethane base |
When selecting putty for crack sealing, consider not just the current appearance of the crack but its history. Is it growing? Does it appear seasonally? The answers determine whether you need maximum flexibility or stronger reinforcement. For instance, cracks at the junction of different materials (like where drywall meets concrete) almost always require high-flexibility putty because these junctions experience different movement rates. Conversely, cracks from impact damage might be stable and need strength more than flexibility. The polymer content in flexible putties creates microscopic bridges across the crack, maintaining integrity even as the building subtly shifts and moves.
Which type of putty is best?
With dozens of putty types on the market claiming to be "best," making the right choice for your specific project can be confusing and potentially costly if you select incorrectly.
The best putty depends on your specific application: flexible polymer-modified putty excels for most interior walls subject to movement, cement-based putty works well for exterior applications requiring weatherproofing, and specialized acoustic putty is ideal for soundproofing projects.

Selecting the optimal putty involves balancing several factors, including your environment, substrate, and performance expectations. Having tested numerous formulations over the years, I've discovered that understanding these factors makes all the difference between a lasting application and premature failure.
Putty Selection Guide by Application Type
| Application | Primary Requirements | Recommended Putty Type | Key Components |
|---|---|---|---|
| Interior Walls (General) | Smooth finish, moderate flexibility | Standard flexible putty | HPMC + 3-5% polymer content |
| High-Movement Areas | Maximum crack resistance | Premium flexible putty | HPMC + 8-10% polymer content |
| Bathroom/Kitchen | Moisture resistance | Waterproof flexible putty | Hydrophobic additives + polymers |
| Exterior Applications | Weather resistance | Exterior-grade putty | Weather-resistant polymers |
| Old Building Renovation | Adaptability to uneven surfaces | High-build flexible putty | Coarse fillers + high polymer |
| New Construction | Settlement accommodation | Fiber-reinforced flexible putty | Microfibers + elastic polymers |
The superiority of flexible putty lies in its versatility across different conditions. Regular putty, composed primarily of calcium carbonate, gypsum and other inorganic materials, forms a rigid structure once dried. It works well in perfectly stable environments but fails when any movement occurs. Flexible putty, enhanced with redispersible polymer powder and cellulose derivatives like HPMC, creates a material that's both strong and adaptable. This polymer network functions similarly to reinforcing steel in concrete, distributing forces throughout the material rather than concentrating them at stress points. In my experience installing both types in similar conditions, flexible putty consistently outperforms in longevity, especially in climates with significant temperature variations or in newer buildings still experiencing settlement.
Why is my putty cracking4?
You've applied putty carefully, yet frustrating cracks still appear weeks later, leaving you wondering what went wrong and how to prevent the same disappointing results in your next project.
Putty typically cracks due to insufficient flexibility (using regular rather than flexible putty), improper application techniques (applying too thickly), inadequate surface preparation, incorrect mixing proportions, or environmental factors like extreme temperature fluctuations during curing.

Understanding why putty cracks requires examining both material properties and application methods. I've investigated numerous crack failures and found that most problems stem from a combination of factors rather than a single mistake.
Common Causes of Putty Cracking
| Cause | Symptoms | Prevention Strategy |
|---|---|---|
| Regular vs. Flexible Putty | Straight, clean cracks following stress lines | Use putty with adequate polymer content |
| Excessive Layer Thickness | Wide, uneven cracks with potential delamination | Apply multiple thin layers instead of one thick layer |
| Improper Surface Preparation | Cracks along with adhesion failure | Thoroughly clean, remove loose material, and prime surfaces |
| Incorrect Water Ratio | Random crack patterns, brittle texture | Follow manufacturer mixing instructions precisely |
| Rapid Drying | Fine, spiderweb cracking pattern | Control environmental conditions, use suitable HPMC grade for proper water retention |
| Building Movement | Diagonal cracks, especially near openings | Use highly flexible formulations in movement-prone areas |
The science of crack prevention is fascinating when you consider what's happening at a microscopic level. Regular putty creates a solid but inflexible matrix that cannot accommodate movement. When walls shift even slightly, this rigid structure can only resist until its breaking point, then fails suddenly. This explains the clean, sharp cracks often seen with regular putty. In contrast, flexible putty incorporates polymer chains that stretch under tension. These microscopic elastic fibers distribute force throughout the material rather than concentrating stress at a single point. I've examined cracked surfaces under magnification and seen how polymer-modified putties demonstrate tiny micro-stretching zones around stress points, preventing visible crack formation. The key lies in the polymer's ability to deform slightly and return to shape – exactly what's needed when buildings naturally shift and settle.
Can you put new window putty over old putty?
When facing deteriorating window putty, the temptation to simply apply new putty over the old layer is strong, but this shortcut often leads to expensive rework and potential window damage.
Generally, you should not apply new window putty over old putty as it creates adhesion problems and premature failure. Instead, carefully remove the old putty, clean the surface thoroughly, apply primer if needed, and then install fresh putty for a proper, lasting seal.

The interaction between old and new putty layers presents interesting material compatibility challenges. From my experience renovating historic buildings, I've learned that proper substrate preparation makes all the difference in putty longevity.
Window Putty Application Guide
| Step | Procedure | Reasoning | Common Mistakes |
|---|---|---|---|
| 1. Removal | Remove all old putty completely | Ensures proper adhesion | Leaving deteriorated putty beneath |
| 2. Surface Preparation | Clean glazing rabbet, remove rust/paint | Creates proper bonding surface | Skipping cleaning step |
| 3. Oil Treatment (wood) | Apply linseed oil to wooden frames | Prevents frame absorbing oil from putty | Using incompatible sealers |
| 4. Putty Selection | Choose flexible glazing putty for better durability | Accommodates glass and frame movement | Using interior putty for exterior applications |
| 5. Application | Apply in consistent bead, tool to 45° angle | Creates weather-tight seal | Uneven application |
| 6. Finishing | Allow proper curing before painting | Ensures complete curing | Painting too soon |
The science of adhesion explains why layering new putty over old rarely works. Putty adheres through both mechanical bonding (filling microscopic surface irregularities) and chemical bonding. Old putty has already oxidized, creating a surface that's both physically smooth and chemically altered, preventing either bond type from forming properly. Additionally, old putty often contains hidden cracks and moisture that compromise the new layer. I've conducted adhesion tests comparing direct-to-frame applications versus over-old-putty applications, and the strength difference is remarkable – sometimes showing 300-400% better adhesion with proper removal and reinstallation. While the complete removal process takes more time initially, it prevents the much larger time and expense of repeated failures and potential water damage to valuable window frames.
Conclusion
The superior crack resistance of flexible putty1 comes from its polymer network that stretches with wall movement rather than fighting against it. By choosing the right type for your specific application and following proper installation techniques, you'll achieve lasting, crack-free results.
-
Explore how flexible putty can enhance durability and reduce crack formation in your projects. ↩ ↩ ↩
-
Learn about the science behind polymer additives and their impact on construction materials. ↩
-
Understand how high-molecular polymers enhance the performance of putty. ↩
-
Identifying the causes of cracking can help you prevent future issues in your projects. ↩