Water damage on exterior walls can lead to mold, structural deterioration, and costly repairs. You need effective waterproofing solutions that actually work in real-world conditions.
To improve exterior wall putty waterproofing, use specialized exterior-grade putty1 with polymer additives2 like RDP, ensure thorough surface preparation, apply multiple thin coats, allow proper curing, and seal with a waterproof primer before painting to create a water-resistant barrier.

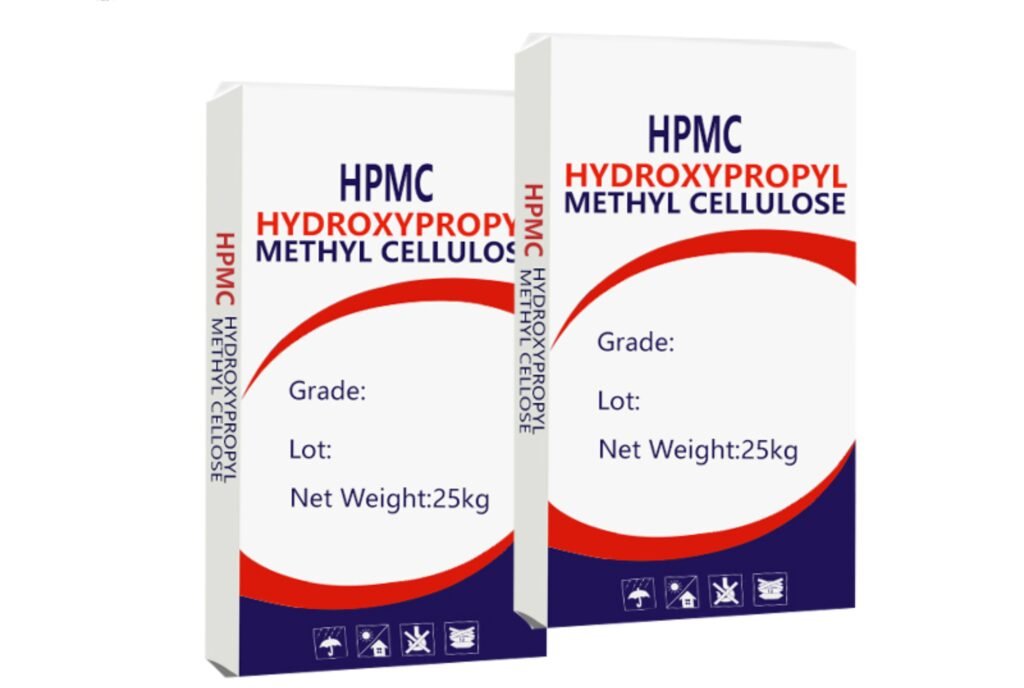
Let me share what I've learned from years of manufacturing hydroxypropyl methylcellulose3 for construction materials. Our customers often asked about improving waterproofing in exterior putties, and I've developed a simple approach that works in even the harshest conditions.
Product Selection & Mixing for Maximum Waterproofing?
Choosing the wrong putty for exterior walls can lead to water seepage, material degradation and costly repairs. Your building deserves better protection against rain and humidity.
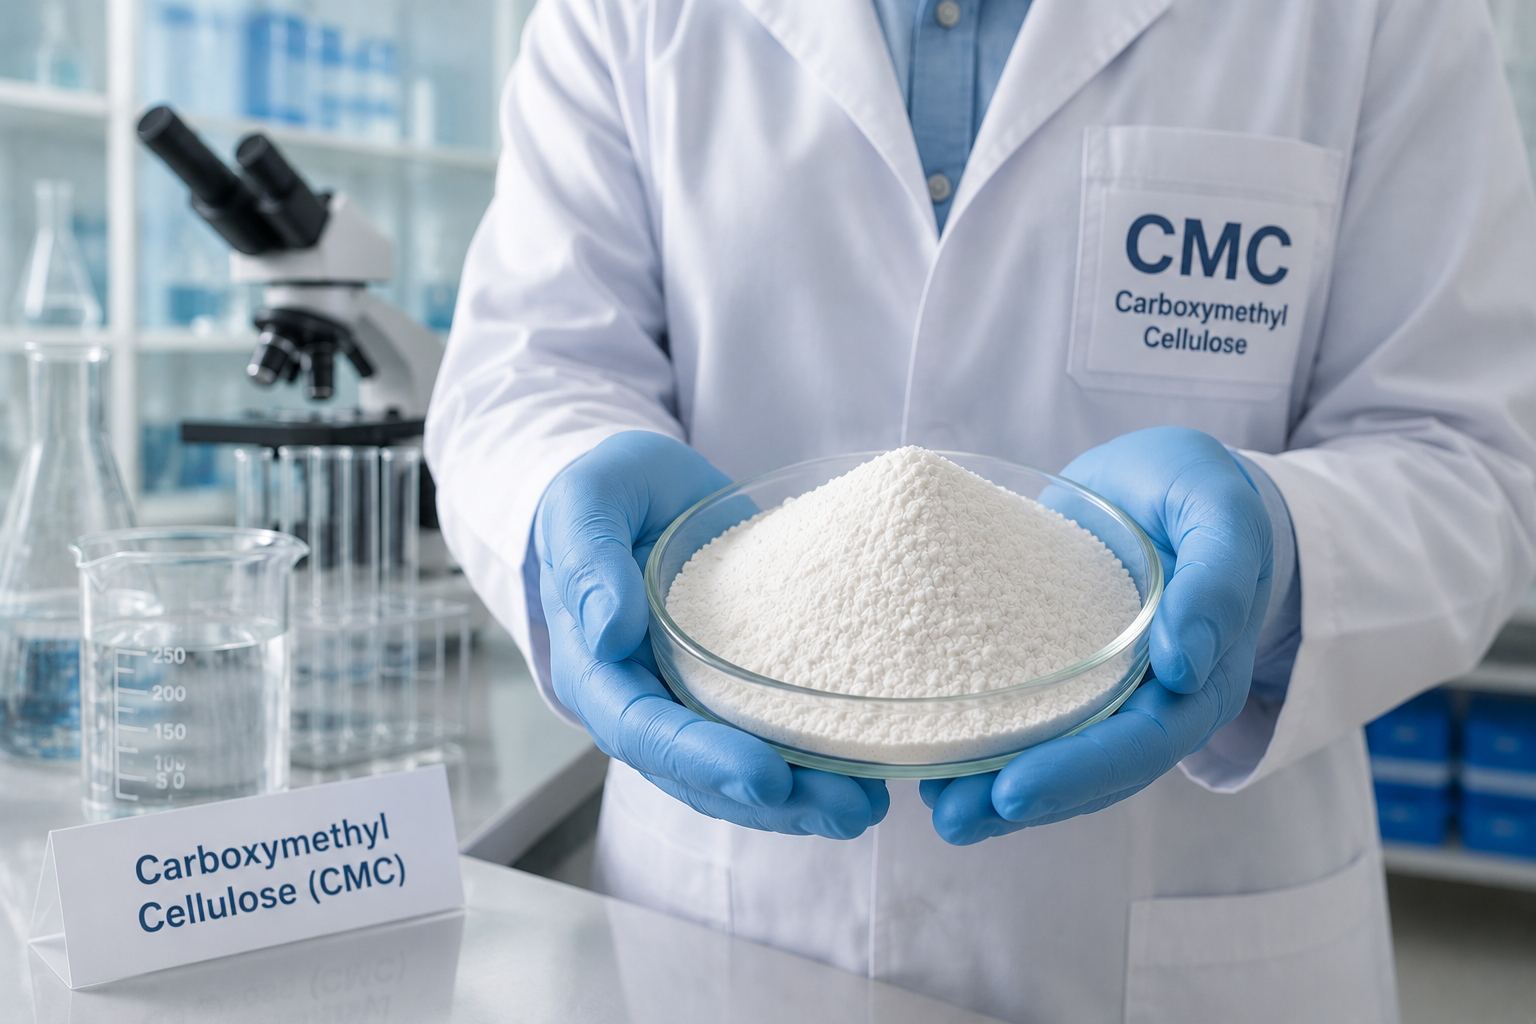
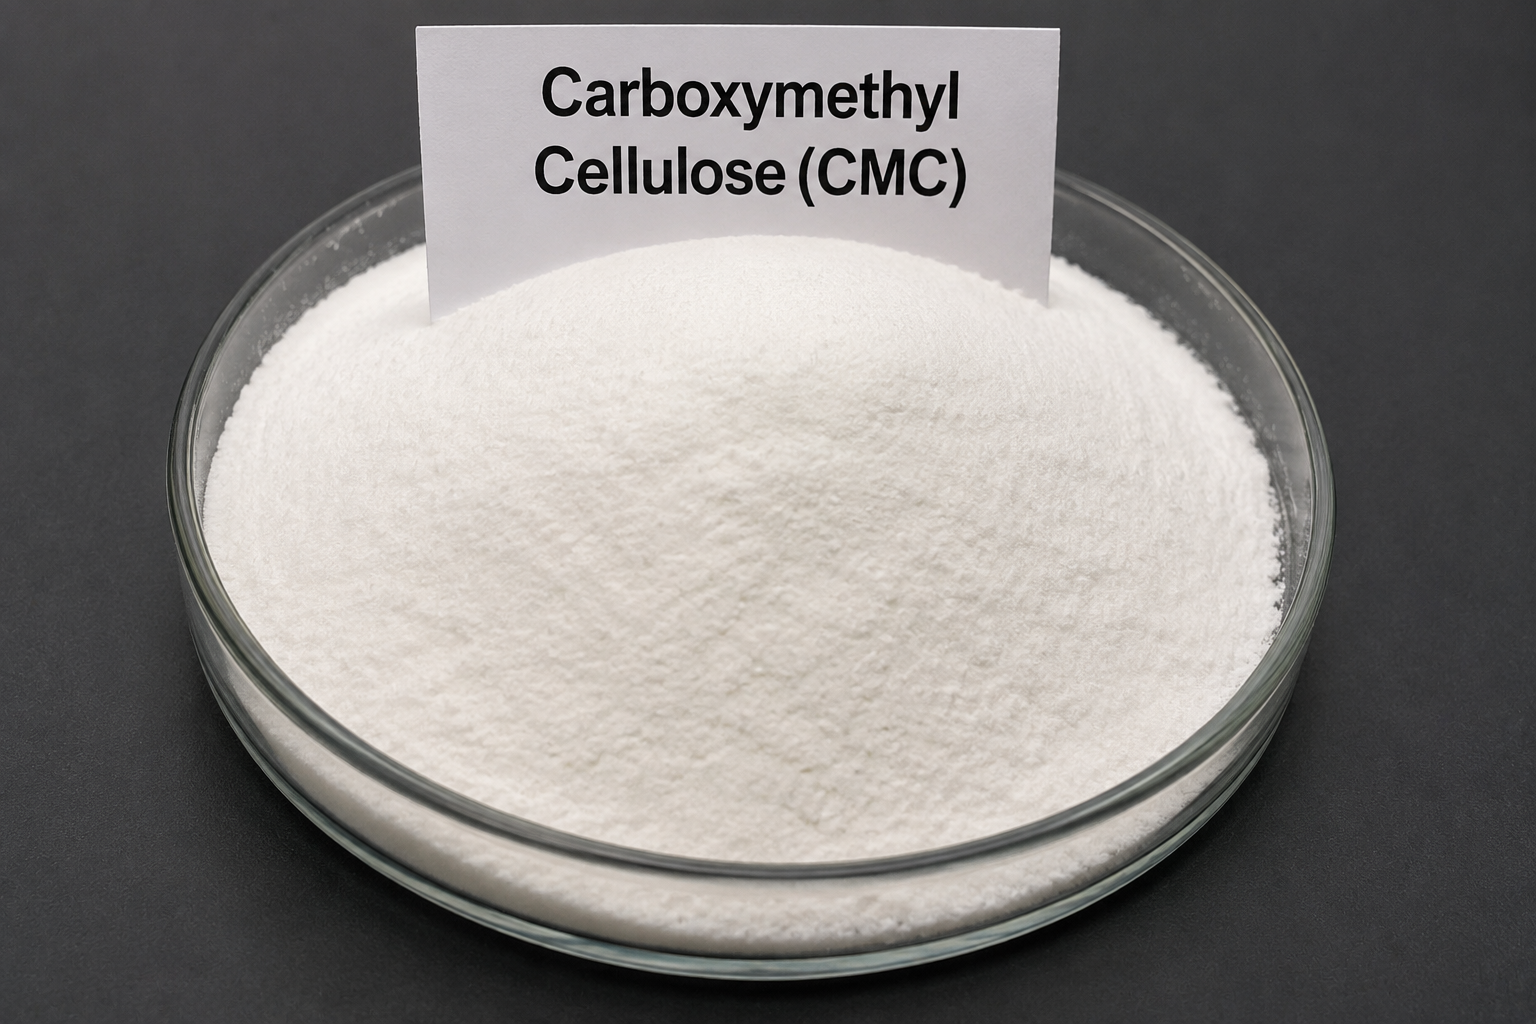
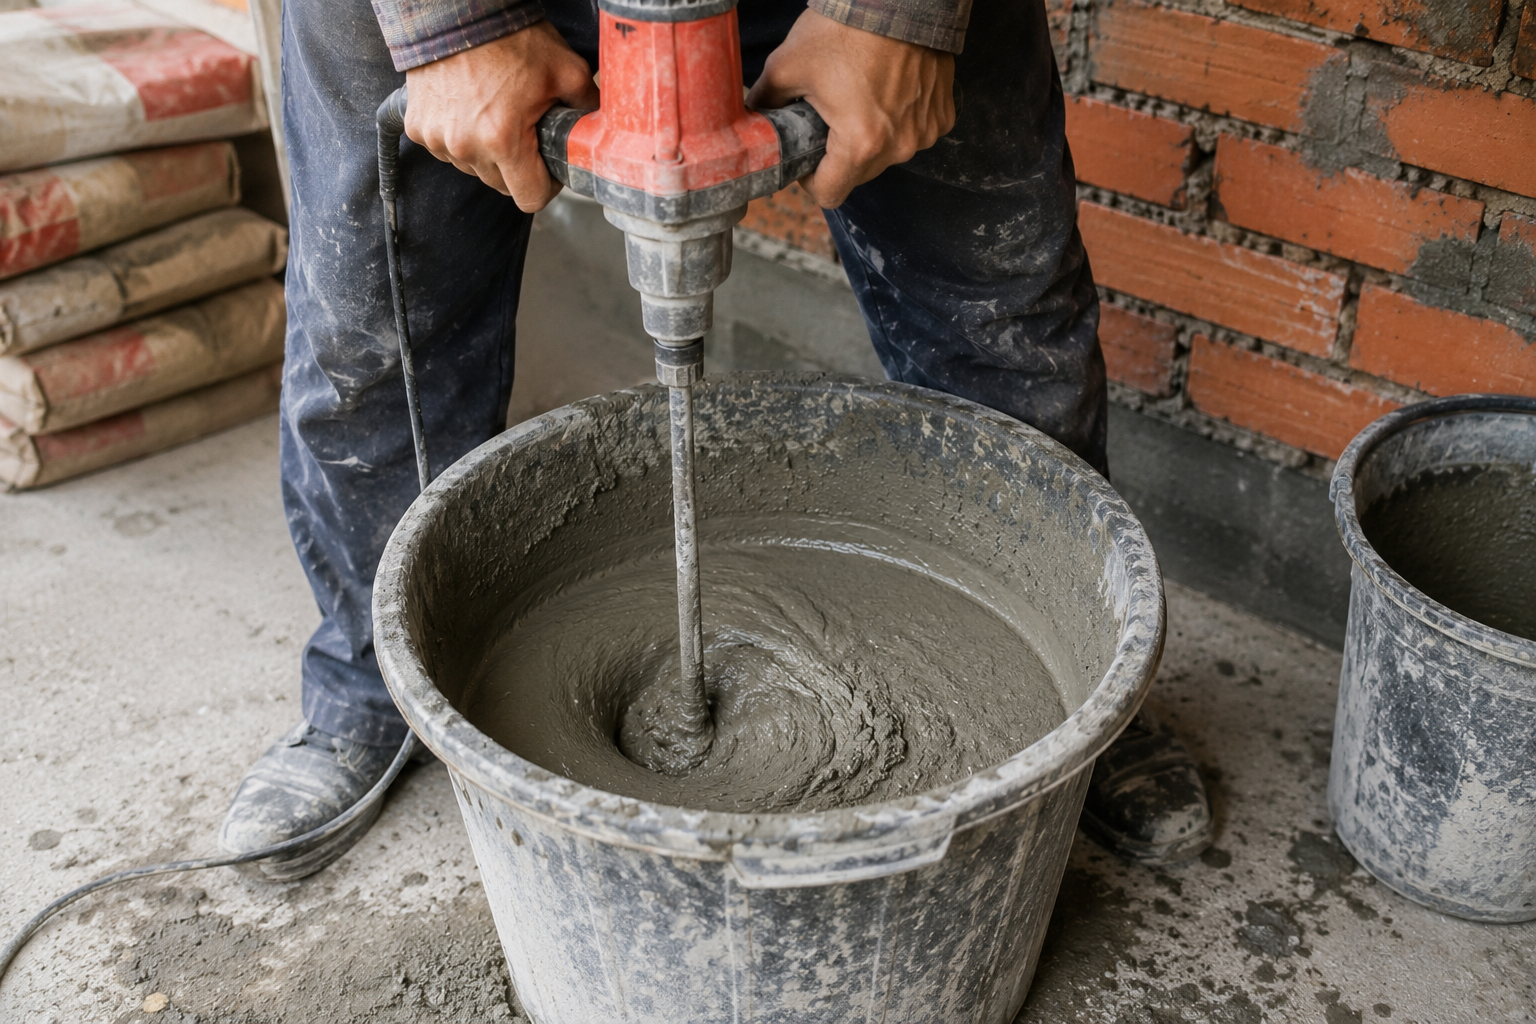
The best exterior wall putty for waterproofing contains redispersible polymer powder4 (RDP), hydrophobic additives, and quality cellulose ethers like HPMC. Mixing should achieve a smooth, lump-free consistency with the right water ratio for optimal polymer film formation.

I remember visiting a customer in UAE who struggled with exterior walls that kept failing during their rainy season. The problem wasn't the application but the formula itself. For truly waterproof exterior putty, follow this formula: "Outer water repellency, inner film formation."
The "outer water repellency" acts like an invisible raincoat for your walls. You must include hydrophobic agents (like silicone powder) in your formula. These make water droplets roll off the surface without absorption, just like lotus leaves repel water droplets. This first line of defense stops most rainwater from even touching the actual wall.
The "inner film formation" gives your putty an impenetrable core. This requires sufficient high-quality redispersible polymer powder4 (RDP). The polymer forms a dense waterproof network within the putty, sealing capillary pores and preventing water penetration even if it gets past the first defense. This fundamentally enhances the putty's resistance to water.
For best results, I recommend:
| Component | Purpose | Recommended Amount |
|---|---|---|
| Premium HPMC | Workability & water retention | 0.2-0.4% |
| Redispersible Powder | Film formation & flexibility | 3-5% |
| Hydrophobic Additives | Surface water repellency | 1-2% |
| Fine Calcium Carbonate | Base material | 70-80% |
| White Cement | Binding agent | 15-20% |
Surface Preparation & Application for Lasting Protection?
Even the best waterproof putty will fail if applied to poorly prepared surfaces. Moisture trapped underneath creates a ticking time bomb for your exterior walls.
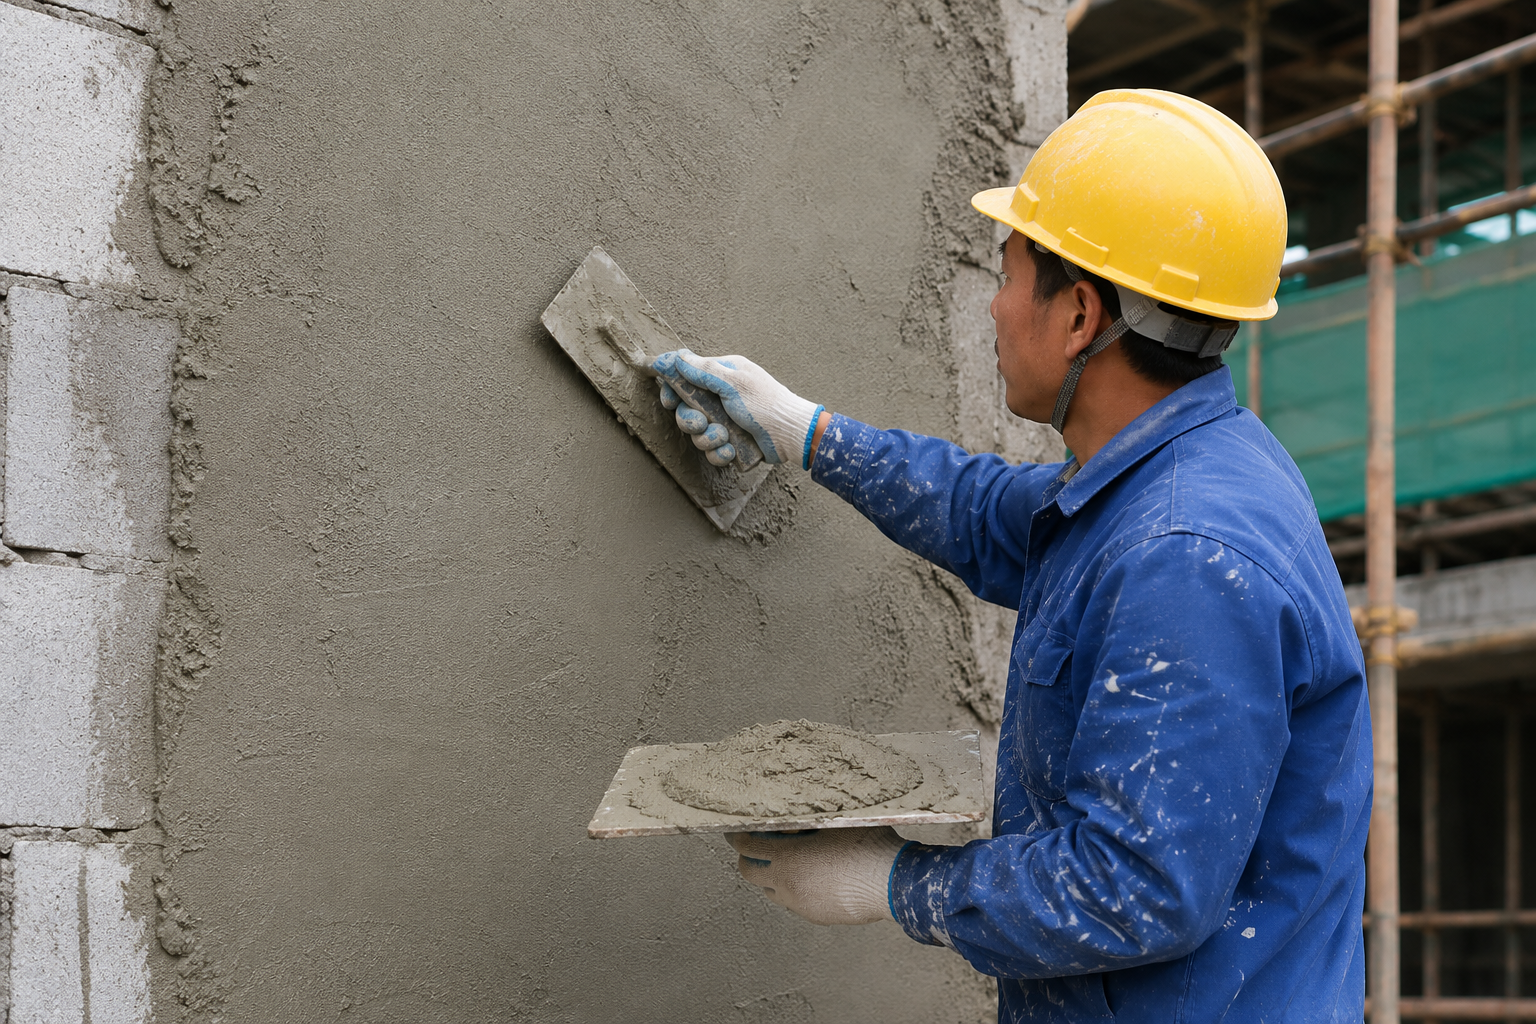
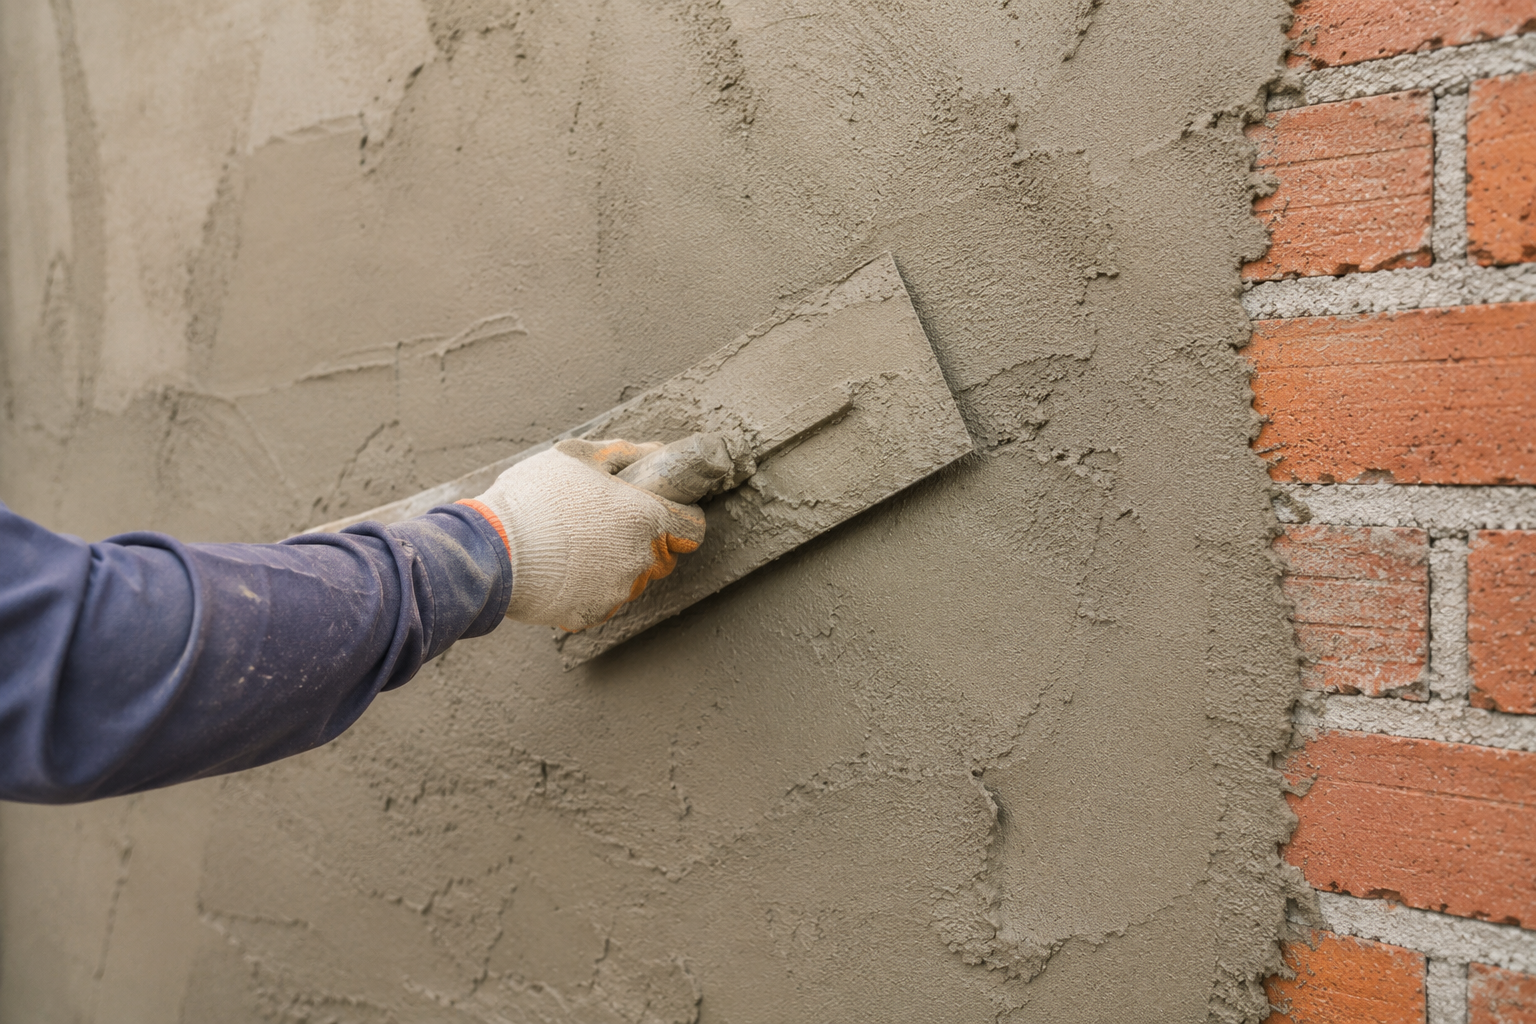
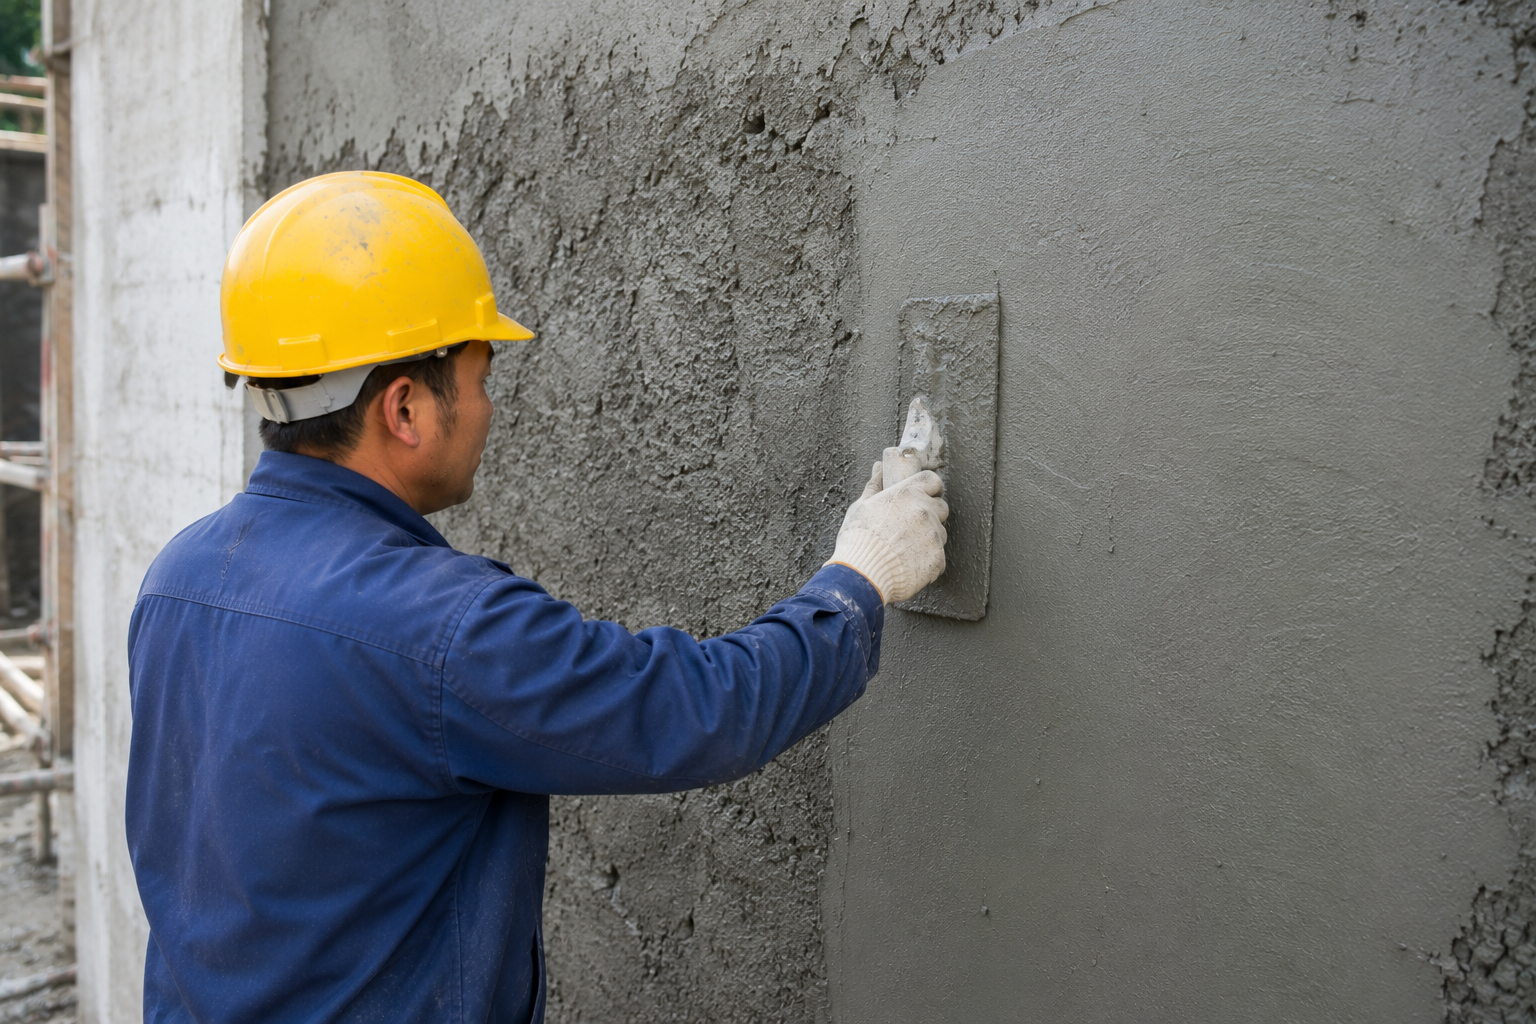
Proper surface preparation requires thoroughly cleaning, drying, and priming the wall. Fill all cracks and remove loose materials. Apply putty in thin, multiple layers rather than one thick coat, creating a more uniform and water-resistant finish.

I visited a major construction project in Saudi Arabia where they were experiencing repeated waterproofing failures despite using quality materials. The issue? Their surface preparation wasn't thorough enough. Let me share what I taught them.
Start by removing all dust, oil, and loose particles from the surface. Any contamination creates weak points for water penetration. Use a wire brush for stubborn areas and wash with clean water. Then – this is critical – allow the surface to dry completely. Many applicators rush this step, but trapped moisture will compromise even the best waterproofing system.
For concrete surfaces with hairline cracks, apply a specialized primer containing fine aggregates that can fill minor imperfections. Larger cracks must be repaired with appropriate fillers and allowed to cure properly before putty application.
When applying the putty, use this technique from our most successful customers:
- Apply a thin first coat (not exceeding 1mm) and let it partially set
- Cross-hatch the surface lightly to improve bonding
- Apply a second coat perpendicular to the first
- For severe conditions, consider a third coat after appropriate drying time
Remember to maintain consistent thickness across the entire surface. Variations in thickness lead to differential drying, which creates stress points that water can eventually penetrate.
| Application Step | Common Mistake | Best Practice |
|---|---|---|
| Mixing | Adding excess water | Follow manufacturer's water ratio exactly |
| First Coat | Applying too thick | Keep under 1mm thickness |
| Drying Time | Rushing between coats | Allow 4-6 hours in normal conditions |
| Final Texture | Overworking the surface | Achieve smoothness with minimal manipulation |
Post-Application & Maintenance for Extended Waterproofing Life?
Many contractors believe their job ends once the putty dries. This misconception leads to premature waterproofing failure and unhappy clients calling with complaints.
After putty application, allow full curing (typically 5-7 days) before painting. Apply a waterproof exterior primer followed by high-quality acrylic paint. Regularly inspect for cracks or peeling and make prompt repairs to maintain the waterproof integrity.

During my visit to a major paint factory in India, I discovered they were missing crucial post-application steps that would have doubled their waterproofing effectiveness. The curing period is when the magic happens with modern putty formulations.
During curing, the polymers in quality putty (especially those with our RDP) form a continuous film that bridges microscopic gaps. Rushing this process by painting too soon interrupts film formation. I recommend a minimum 5-day curing period in normal conditions, extending to 7 days in high humidity or cold weather.
The choice of topcoat system is equally important. A breathable but water-resistant exterior paint system creates multiple barriers against water infiltration while allowing trapped moisture to escape. This prevents the dreaded bubbling and peeling that occurs when moisture gets trapped between layers.
Maintenance is your insurance policy. Develop this inspection routine:
- Bi-annual check for hairline cracks (especially after extreme weather)
- Immediate repair of any damaged areas with compatible materials
- Cleaning surfaces with gentle methods to preserve the hydrophobic layer
- Reapplication of water-repellent coatings every 3-5 years depending on exposure
For buildings in harsh environments, consider creating a detailed maintenance schedule:
| Climate Type | Inspection Frequency | Recoating Timeline | Special Considerations |
|---|---|---|---|
| Hot & Humid | Every 6 months | Every 3-4 years | Focus on mold prevention |
| Hot & Dry | Annual | Every 4-5 years | Check for thermal cracking |
| Cold & Wet | Quarterly | Every 2-3 years | Monitor freeze-thaw damage |
| Coastal | Quarterly | Every 2-3 years | Salt damage inspection |
How to Make Wall Putty Waterproof?
Regular wall putty absorbs water, leading to dampness, mold growth, and structural damage. Your exterior walls need specialized protection against changing weather conditions.
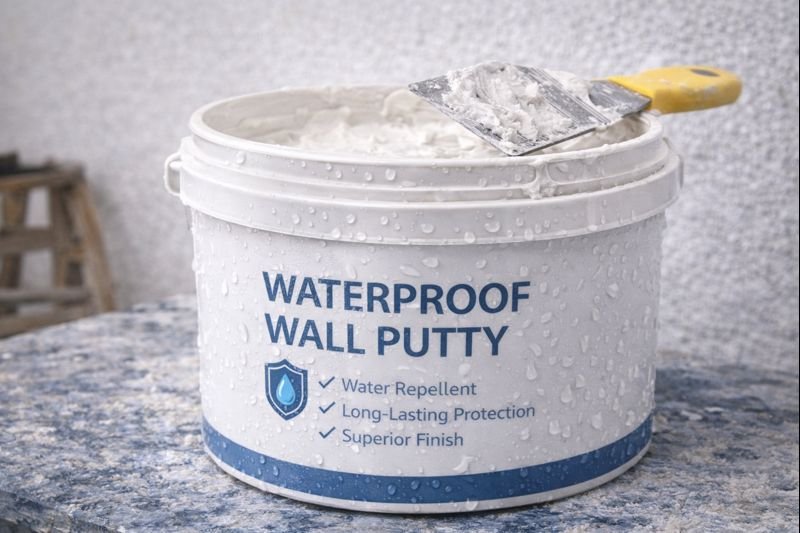
To make wall putty waterproof, add hydrophobic additives (silicone powder) for surface water repellency and incorporate sufficient redispersible polymer powder4 (3-5% RDP) to create an internal waterproof polymer film that seals pores and prevents water penetration.

At our factory, we've developed a waterproofing approach I call the "dual defense system" based on years of testing and customer feedback. This approach combines two critical mechanisms that work together to provide comprehensive water protection.
The first mechanism, "external water repellency," creates a surface that naturally repels water molecules. This is achieved through the addition of hydrophobic agents like silicone powder at 1-2% concentration in your putty mix. These create a microscopic surface texture that increases the contact angle of water droplets, causing them to bead up and roll off rather than absorbing into the wall.
The second mechanism, "internal film formation," is even more crucial. By incorporating a sufficient amount of high-quality redispersible powder (RDP), you create a continuous polymer network throughout the putty matrix when it dries. This polymer film seals capillary pores and creates an elastic barrier that prevents water migration even under pressure.
I've seen dramatic improvements in water resistance when customers implement both strategies. One major builder in Brazil reduced moisture-related callbacks by 87% after reformulating with our recommended approach.
For best results, consider these modification ratios based on your climate:
| Climate Condition | RDP Percentage | Hydrophobic Additive | Water-Cement Ratio |
|---|---|---|---|
| Moderate | 3% | 1% | 0.4 |
| High Rainfall | 4% | 1.5% | 0.35 |
| Coastal/Extreme | 5% | 2% | 0.3 |
What is the Best Waterproofing for Exterior Walls?
With countless waterproofing options available, choosing the wrong solution wastes money and leaves walls vulnerable. You need proven methods that deliver reliable protection in real-world conditions.
The best waterproofing system for exterior walls combines polymer-modified putty containing RDP, a penetrating hydrophobic primer, and a high-quality elastomeric paint topcoat. This multi-layer approach provides both surface water repellency and deep structural protection.

I've analyzed hundreds of waterproofing failures across different climates, and the pattern is clear: single-component solutions eventually fail. The most effective approach is always a complete system designed for your specific conditions.
For new construction, I recommend starting with a penetrating silicone-based water repellent primer that soaks into the substrate. This creates a hydrophobic zone that repels liquid water while remaining vapor-permeable, allowing the wall to "breathe." This foundation layer is often overlooked but critical for long-term performance.
The middle layer should be a high-quality polymer-modified putty containing sufficient RDP (ideally 4-5% for exterior applications). The polymer component forms a flexible, water-resistant film that bridges microcracks and accommodates normal building movement without breaking.
The final layer should be an elastomeric acrylic paint with at least 100% elongation capacity. This provides additional waterproofing while protecting the underlying putty from UV degradation. The elasticity allows the coating to stretch and recover with seasonal building movements without cracking.
For existing buildings with water issues, remediation requires a different approach:
| Problem | Solution Component | Function |
|---|---|---|
| Rising Damp | Injection waterproofing | Creates chemical barrier in masonry |
| Wall Leaks | Crystalline waterproofing | Penetrates and seals concrete pores |
| Surface Water | Silicone-based water repellent | Creates hydrophobic barrier |
| Cracks | Flexible sealant with backing rod | Accommodates movement while sealing |
Each building presents unique challenges based on construction materials, age, and environmental exposure. The best waterproofing solution addresses the specific water pathways affecting your exterior walls rather than applying a one-size-fits-all approach.
Is Exterior Putty Waterproof?
Many manufacturers claim their exterior putty is waterproof, but buildings still develop leaks and moisture problems. You need to understand what "waterproof" really means for exterior applications.
Standard exterior putty is water-resistant but not fully waterproof. True waterproof putty5 must contain at least 3-5% redispersible polymer powder, hydrophobic additives, and proper application techniques to create a continuous water barrier that maintains integrity under prolonged exposure.

In our laboratory, we conduct rigorous testing of "waterproof" putty from across the market. The results are eye-opening. Many products claiming waterproof performance show significant water absorption after just 24 hours of exposure.
True waterproof exterior putty must demonstrate these critical properties:
- Low water absorption (less than 5% by mass)
- Water repellency (contact angle greater than 90 degrees)
- Maintained cohesion when wet (no softening or disintegration)
- Minimal permeability (less than 0.1 kg/m²·h0.5)
The key differentiator is the quality and quantity of polymer modification6. Budget putties often contain minimal RDP (less than 1%), which is insufficient to form a continuous waterproof film. Premium waterproof formulations contain 3-5% high-quality RDP that creates an elastic, water-resistant polymer network throughout the material.
I've analyzed putty failures in coastal regions throughout Asia and found that salt spray exposure quickly reveals the truth about waterproofing claims. Products with insufficient polymer content show visible deterioration within months, while properly formulated putties maintain integrity for years under identical conditions.
For objective assessment, here's how different putty types perform in standardized tests:
| Putty Type | Water Absorption (%) | Contact Angle | Adhesion When Wet | Service Life |
|---|---|---|---|---|
| Standard Interior | >15% | <60° | Poor | N/A (indoor only) |
| Basic Exterior | 8-12% | 70-80° | Moderate | 1-2 years |
| Water-Resistant | 5-8% | 80-90° | Good | 3-4 years |
| True Waterproof | <5% | >90° | Excellent | 5+ years |
How to Make Exterior Walls Waterproof?
Water infiltration damages not just the appearance but the structural integrity of buildings. You need a comprehensive waterproofing approach that addresses all potential water entry points.
To make exterior walls truly waterproof, implement a complete system: repair all cracks, apply a penetrating waterproof primer, use polymer-modified waterproof putty, finish with elastomeric paint, and ensure proper flashing around windows, doors, and roof junctions.

During a consulting visit to a major development in Vietnam, I encountered persistent leakage despite multiple waterproofing treatments. The problem wasn't the products but the fragmented approach. Waterproofing isn't just about materials—it's about creating a continuous system without weak points.
Start with structural integrity. All cracks larger than 0.3mm must be properly routed out and filled with flexible waterproof sealant. For hairline cracks, use a crack-bridging primer before applying putty. This step alone eliminates many future waterproofing failures.
Next, address the wall substrate itself. For porous materials like concrete block or brick, apply a penetrating silicone-based waterproofer that creates a hydrophobic barrier deep within the substrate while maintaining breathability. This prevents water intrusion while allowing vapor transmission.
For the surface treatment, follow this proven system:
- Apply a polymer-modified bonding primer
- Use waterproof putty with sufficient RDP content
- Apply a flexible waterproof membrane at high-risk areas (wall joints, corners)
- Finish with a high-quality elastomeric paint system
Don't overlook crucial details like proper flashing around penetrations and wall-roof junctions. These areas account for over 60% of water infiltration problems in otherwise well-waterproofed walls.
Finally, consider these environmental adaptations for difficult conditions:
| Climate Challenge | Solution Component | Application Note |
|---|---|---|
| High Rainfall | Additional polymer content in putty | Increase RDP to 5-6% |
| Freeze-Thaw Cycles | Air-entrained additives | Improves resistance to frost damage |
| High UV Exposure | UV-stable topcoat | Prevents degradation of waterproofing |
| Wind-Driven Rain | Siloxane-based water repellent | Creates higher contact angle |
Conclusion
Effective exterior wall putty waterproofing requires a dual approach: surface water repellency through hydrophobic additives and internal reinforcement with quality RDP. Combine these with proper preparation, application, and maintenance for truly waterproof exterior walls that last years, not seasons.
-
Learn about exterior-grade putty and its importance in waterproofing applications. ↩
-
Discover how polymer additives improve the performance of waterproofing materials. ↩
-
Explore the applications of hydroxypropyl methylcellulose in enhancing construction materials. ↩
-
Understand the significance of redispersible polymer powder in waterproofing formulations.--- ↩ ↩ ↩
-
Learn about waterproof putty's properties and how it can effectively prevent water damage. ↩
-
Find out how polymer modification enhances the durability and performance of building materials. ↩