Are you facing cracked or peeling tiles? The problem often lies in poor adhesive selection. Improper tile adhesive choice leads to failed installations, wasted money, and frustrating repairs.
Tile adhesive is a specialized bonding material designed to securely attach tiles to various surfaces. The right adhesive should match your tile type, installation location, and substrate condition, with options ranging from cement-based formulations to ready-mixed pastes for different applications.

Selecting the right tile adhesive can be overwhelming with so many choices available. However, making an informed decision is crucial for ensuring your tiling project stands the test of time. Let me walk you through everything you need to know about choosing the perfect adhesive for your specific requirements.
What Exactly Is Tile Adhesive and Why Is It Critical for Installation Success?
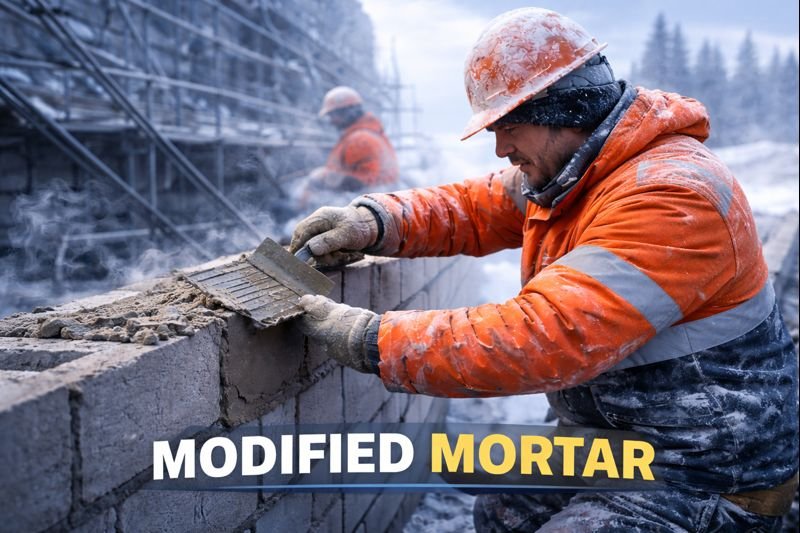
Pain alert! Using regular mortar or inappropriate adhesives often leads to tile failure within months. Proper tile adhesive provides the specific bonding strength needed for lasting installations.
Tile adhesive is a specialized bonding material formulated to create a strong, durable bond between tiles and substrates. Modern tile adhesives contain polymers, resins, and additives that enhance flexibility, water resistance, and adhesion properties far beyond traditional cement mortars.

Tile adhesive's primary function is creating that critical bond between your beautiful tiles and the underlying surface. I've been in the building materials industry for years, and I've seen countless projects fail simply because the wrong bonding agent was selected. Let me explain why the right adhesive matters so much.
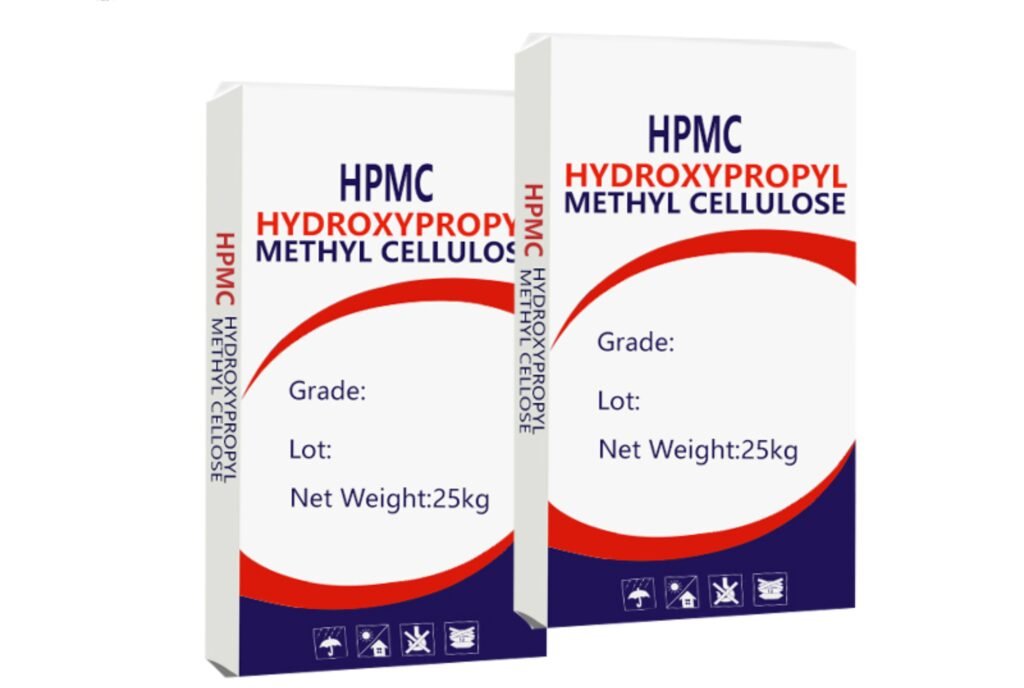
The science behind tile adhesive is fascinating. Unlike simple mortars, modern adhesives incorporate hydroxypropyl methylcellulose (HPMC) and redispersible latex powder that dramatically improve workability and performance. These additives create a flexible, water-resistant bond that can accommodate slight structural movements and temperature changes.
Key Components of Quality Tile Adhesives
| Component | Function | Benefit |
|---|---|---|
| Cement | Base material | Provides initial strength |
| HPMC | Water retention | Improves workability and open time |
| Redispersible Polymer Powder | Flexibility | Enhances adhesion and prevents cracking |
| Silica Sand | Texture | Creates optimal thickness and coverage |
| Additives | Performance enhancers | Improves water resistance and durability |
When I visit clients' facilities, I always emphasize that understanding these components helps them make informed choices. The right balance of these ingredients determines how well the adhesive will perform in specific environments like wet areas, exteriors, or under heavy traffic.
What Are the Different Application Methods of Cement-Based Tile Adhesive?
Worried about improper application causing tile failures? Many contractors use outdated techniques that lead to hollow spots and eventual cracks or detachment.
Cement-based tile adhesives can be applied using several techniques: thin-set method (3-6mm thickness), medium-bed method (6-12mm for uneven surfaces), thick-bed method (traditional 15-20mm mortar beds), and back-buttering (applying adhesive to both substrate and tile) for critical installations.

Getting the application right is just as important as choosing the correct adhesive. In my experience consulting with major construction projects across developing markets, I've noticed application errors account for nearly 50% of all tile failures.
The thin-set method is most common and economical for modern installations. It uses less material while providing excellent bonding with today's high-quality adhesives fortified with HPMC and polymer powders. The medium-bed approach works wonderfully for slightly uneven surfaces or larger tiles where more adhesive helps prevent lippage (uneven tile edges).
Traditional thick-bed installation, while less common today, still has its place for heavily uneven substrates or special applications. The back-buttering technique is essential for large-format tiles, exterior applications, and wet areas - I always recommend this method to clients working on high-end projects or installing expensive materials.
Application Thickness Guidelines by Tile Type
| Tile Type | Recommended Method | Adhesive Thickness | Special Considerations |
|---|---|---|---|
| Ceramic Wall Tiles | Thin-set | 3-4mm | Notched trowel 6x6mm |
| Porcelain Floor Tiles | Medium-bed | 6-10mm | Back-buttering recommended |
| Natural Stone | Medium-bed with back-buttering | 8-12mm | May require specialized adhesive |
| Glass Tiles | Thin-set with fine notch | 2-3mm | White adhesive recommended |
| Large Format (>60cm) | Medium-bed with back-buttering | 8-15mm | Leveling system advised |
Our factory's technical support team frequently helps customers determine the right application method based on their specific project requirements. We've found that matching the application technique to both the adhesive formulation and tile type significantly improves installation success rates.
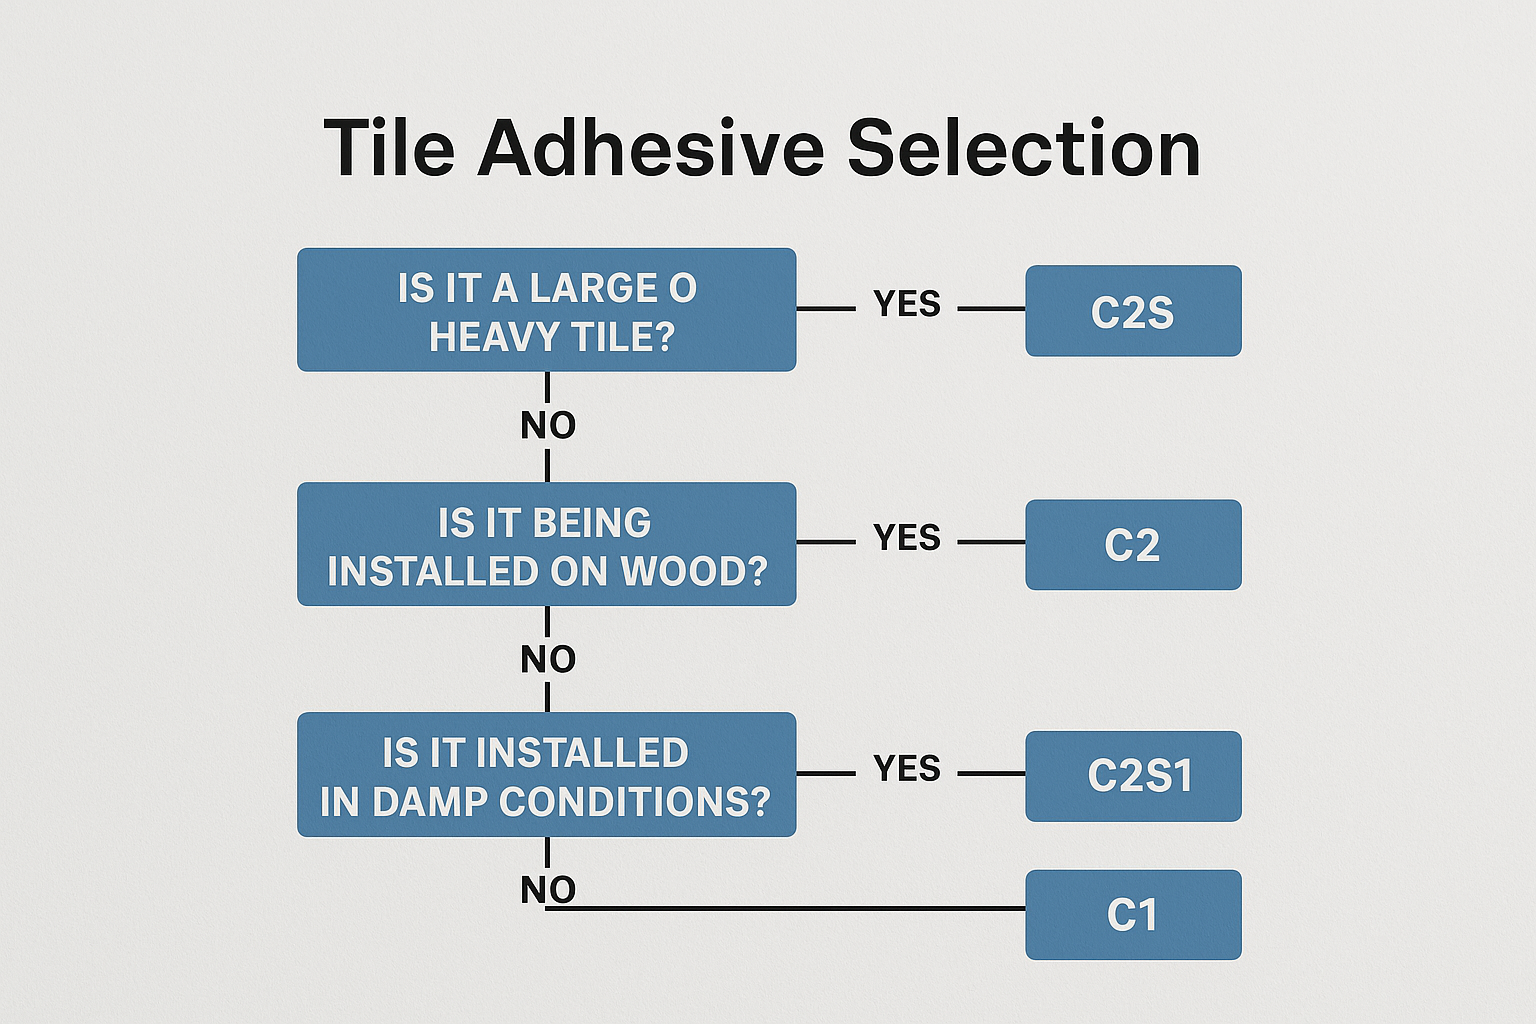
How Are Tile Adhesives Classified According to Industry Standards?
Confused by different tile adhesive ratings? Using the wrong classification for your project can lead to premature failure and expensive repairs.
Tile adhesives are classified according to international standards like EN 12004 and ISO 13007, which categorize them by type (C-cement-based, D-dispersion, R-reaction resin), class (1-normal, 2-improved), and characteristics (T-slip resistance, E-extended open time, F-fast setting, S-deformability).

Understanding adhesive classifications has saved my clients thousands of dollars in potential rework. The classification system might seem complex at first, but it's designed to help you make precise selections based on project requirements.
Let me break it down simply: The first letter tells you the basic type - C for cement-based (most common), D for ready-mixed pastes, and R for epoxy-type adhesives. The number indicates performance level - Class 1 meets minimum standards, while Class 2 exceeds them significantly. The additional letters indicate special properties that might benefit your specific application.
For example, a C2TE adhesive is cement-based (C), high-performance (2), with reduced slippage (T) and extended open time (E) - making it ideal for wall tiling where you need extra working time. Our factory produces these formulations with precisely calibrated amounts of HPMC and redispersible powders to achieve these performance characteristics.
Deformability Classes Explained
When we discuss advanced tile installations, understanding deformability becomes crucial:
| Class | Deflection | Best For | Typical Applications |
|---|---|---|---|
| S1 | 2.5-5mm | Normal flexibility | Large format tiles, underfloor heating |
| S2 | >5mm | High flexibility | Exterior applications, swimming pools |
| Standard | <2.5mm | Rigid applications | Interior floors with stable substrates |
I've found that many failed exterior installations could have been prevented by simply selecting an S1 or S2 classified adhesive that could accommodate thermal expansion and contraction. These specialized formulations contain higher percentages of polymer powders and specialized additives that our laboratory carefully balances for optimal performance.
How to Choose the Suitable Types for Your Applications?
Selecting the wrong adhesive type for your specific application can lead to costly failures. Many contractors make choices based on price rather than technical suitability.
Choose your tile adhesive based on tile type, installation location, and substrate condition. For bathrooms and wet areas, use water-resistant C2 adhesives. For exteriors and large format tiles, select deformable S1/S2 types. For quick projects, consider fast-setting F-class adhesives, and for glass or decorative tiles, use white adhesives.

Matching the right adhesive to your specific project requirements is where many professionals go wrong. I regularly consult with clients in Saudi Arabia, UAE, and across Asia who have experienced failures simply because they didn't consider all relevant factors.
The substrate condition is your starting point - is it perfectly level or slightly uneven? Is it porous concrete or non-absorbent like existing tiles? Each requires different adhesive properties. Next, consider the installation environment - interior dry areas demand different properties than wet areas or exteriors exposed to freeze-thaw cycles.
The tile type itself is another crucial factor. Large format tiles need highly deformable adhesives to prevent cracking, while heavy natural stone might require quick-setting formulations to prevent sagging. Through years of product development, we've created specialized adhesives for each scenario by adjusting the HPMC content, polymer powder ratio, and cement quality.
Adhesive Selection Guide by Application
| Application | Recommended Type | Key Properties | Why It Matters |
|---|---|---|---|
| Bathroom Walls | C2TE | Water-resistant, non-slip | Prevents tiles from sliding during installation |
| Exterior Façades | C2TES1/S2 | Highly deformable, weather-resistant | Accommodates thermal expansion/contraction |
| Floor Heating Systems | C2S1/S2 | Flexible, thermal resistant | Prevents cracking from temperature changes |
| Swimming Pools | R2T or C2TES2 | Waterproof, chemical resistant | Withstands constant water exposure and chemicals |
| Quick Renovation | C2FT | Fast-setting (3-4 hours) | Allows for same-day grouting |
I remember visiting a luxury hotel project in Dubai where the contractor had used standard adhesive for the swimming pool installation. Within months, tiles began detaching due to chemical exposure and water pressure. The entire installation had to be redone with proper R2T epoxy adhesive at tremendous cost. This reinforced my commitment to educating customers about proper adhesive selection.
Conclusion
Selecting the right tile adhesive is crucial for a successful, long-lasting installation. Consider your tile type, location, substrate, and project requirements when choosing. With the right adhesive and proper application techniques, your tiled surfaces will remain beautiful and intact for years to come.