Are you tired of unsightly air bubbles ruining your perfect skim coat finish? These tiny imperfections can turn a professional job into a frustrating mess, requiring costly and time-consuming repairs.
To prevent air bubbles in skim coat, prepare surfaces properly, use quality materials like premium HPMC, mix thoroughly, apply thin layers, maintain consistent application pressure, work in optimal temperatures, and allow proper drying time between coats. These steps ensure smooth, professional results.
I've seen countless projects derailed by pesky air bubbles in skim coating. After years in the construction additives industry, I've gathered practical solutions that work consistently. Let me share these valuable tips to help you achieve flawless results every time.
What Exactly Is Skim Coating and Why Does It Matter?
Pain points arise when skim coating1 goes wrong. Bubbles, cracks, and uneven finishes waste materials and valuable time, leading to customer complaints and damaged professional reputation.
Skim coating is a thin layer of joint compound applied to walls or ceilings to create a smooth, uniform surface before painting or wallpapering. It's essential for hiding imperfections, creating level surfaces, and ensuring professional-quality finishes in construction and renovation projects.
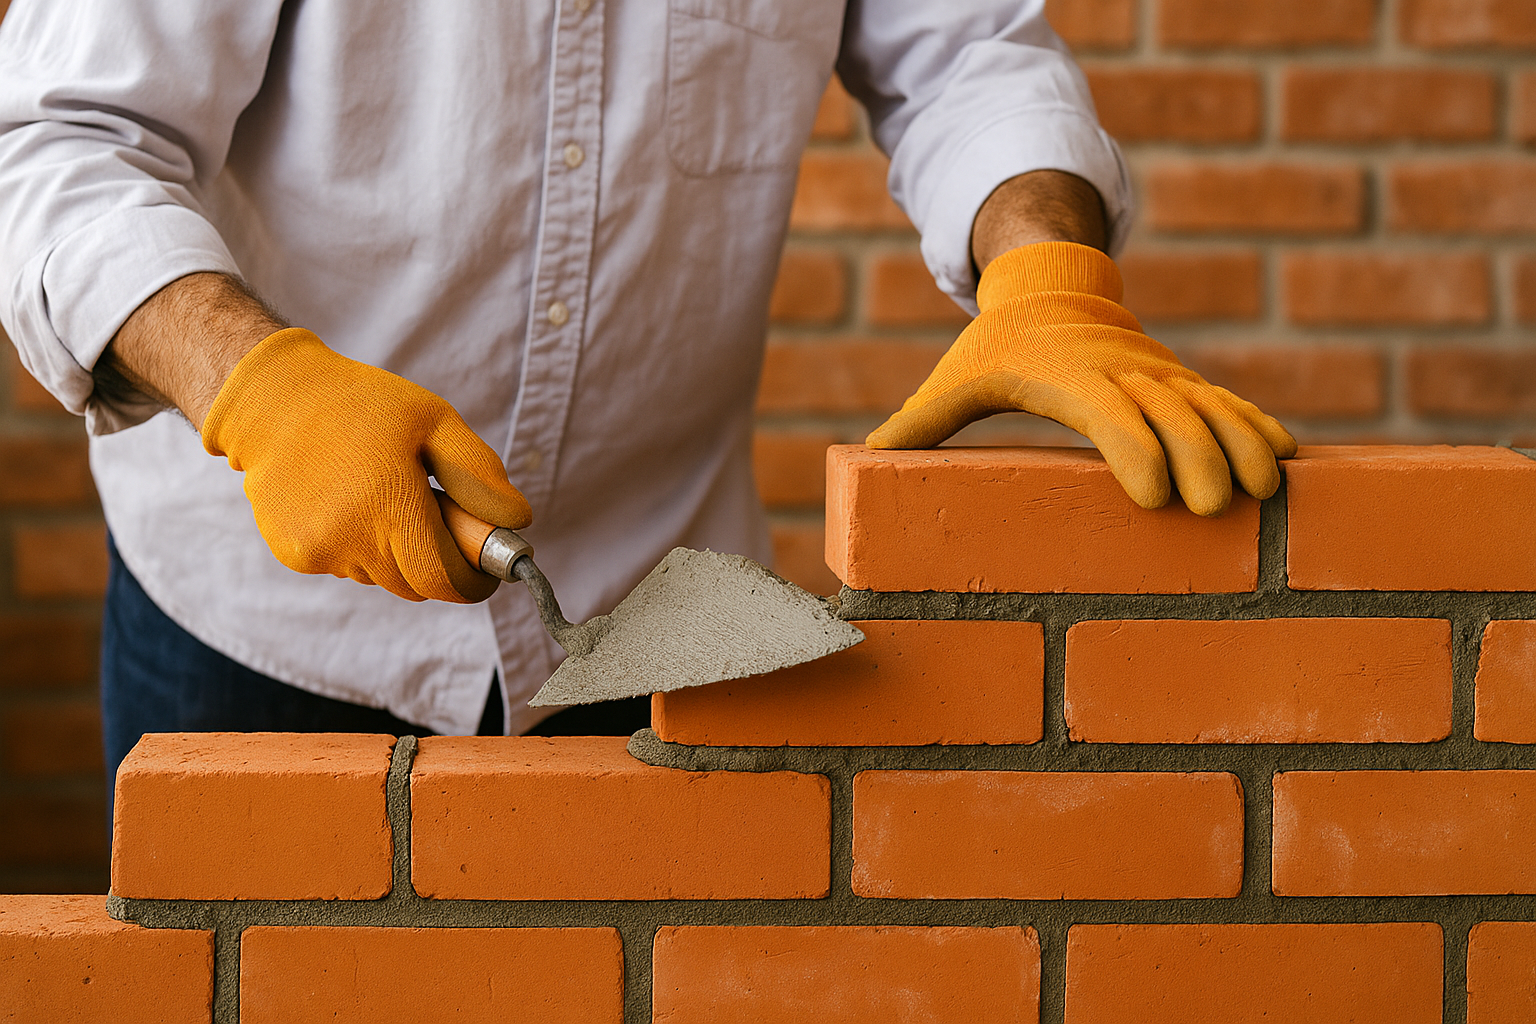
Skim coating has revolutionized the construction industry by offering an efficient solution for surface preparation. The technique involves applying a thin layer of specially formulated compound over surfaces to create a perfectly smooth canvas. When done correctly, it transforms rough, damaged, or uneven walls into flawless surfaces ready for finishing.
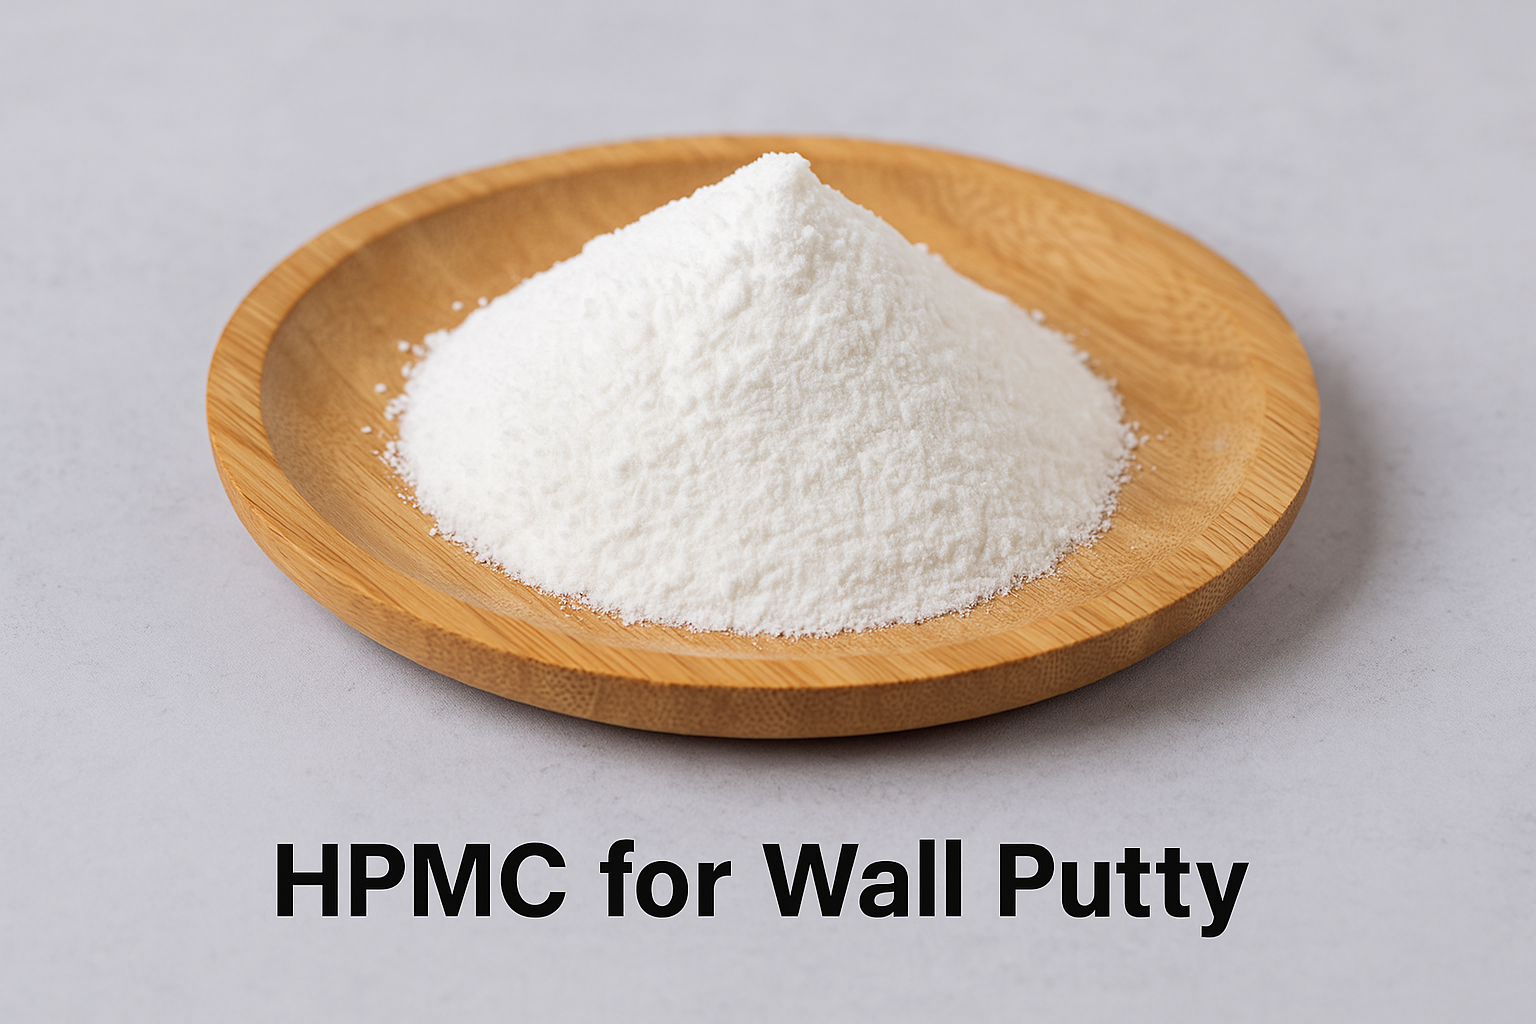
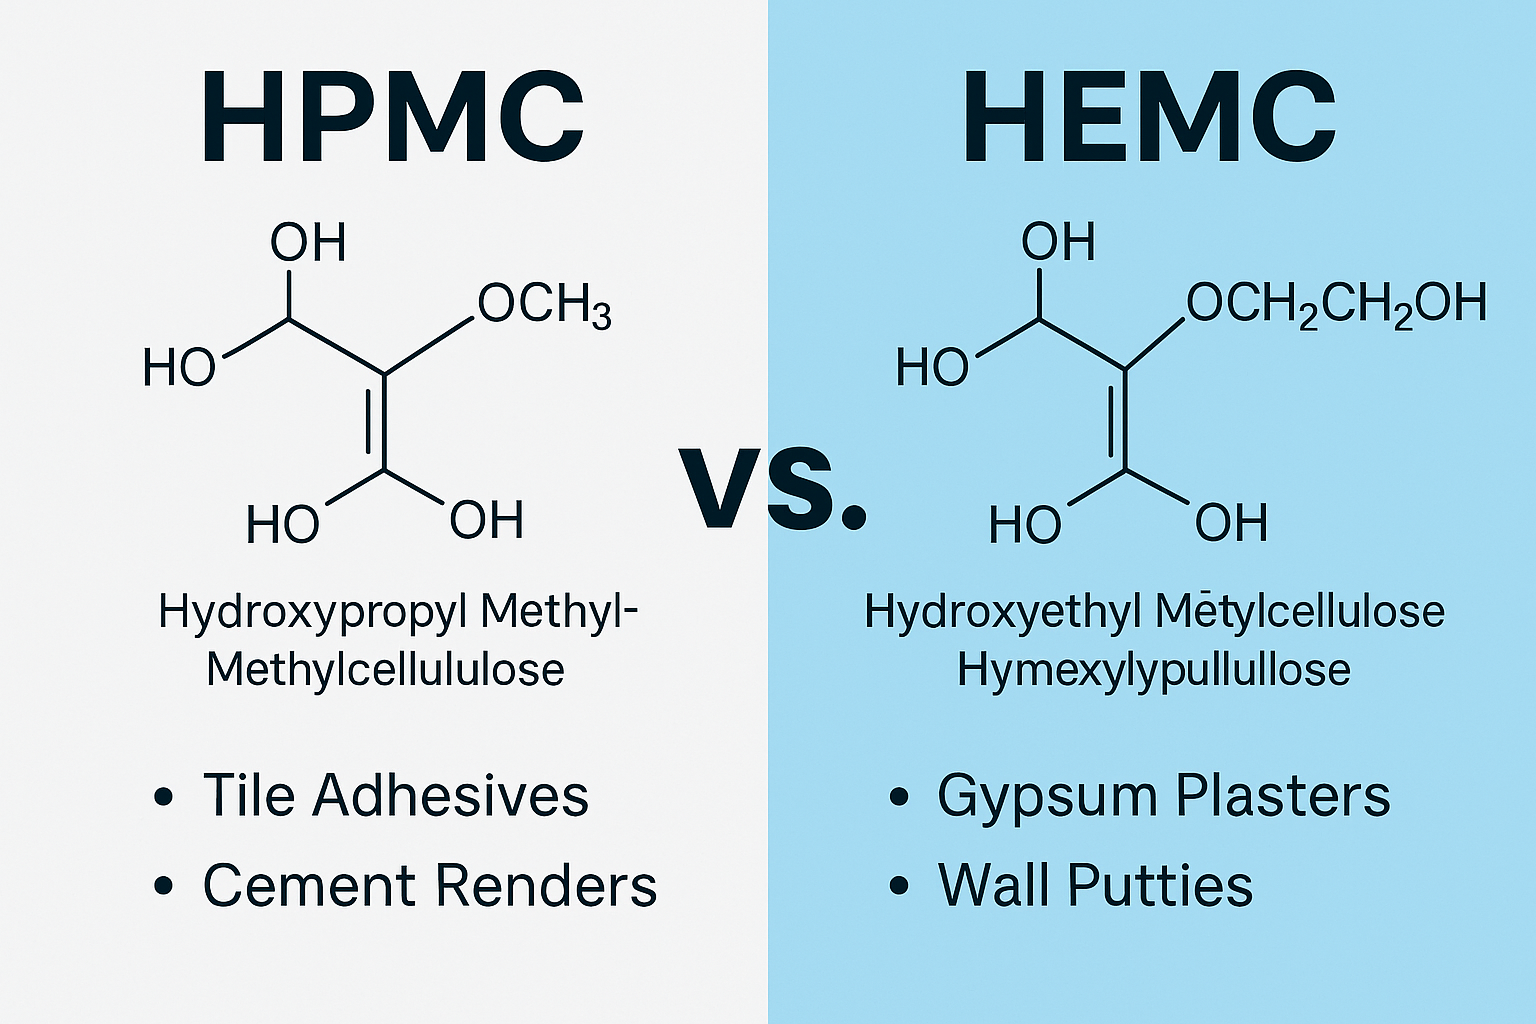
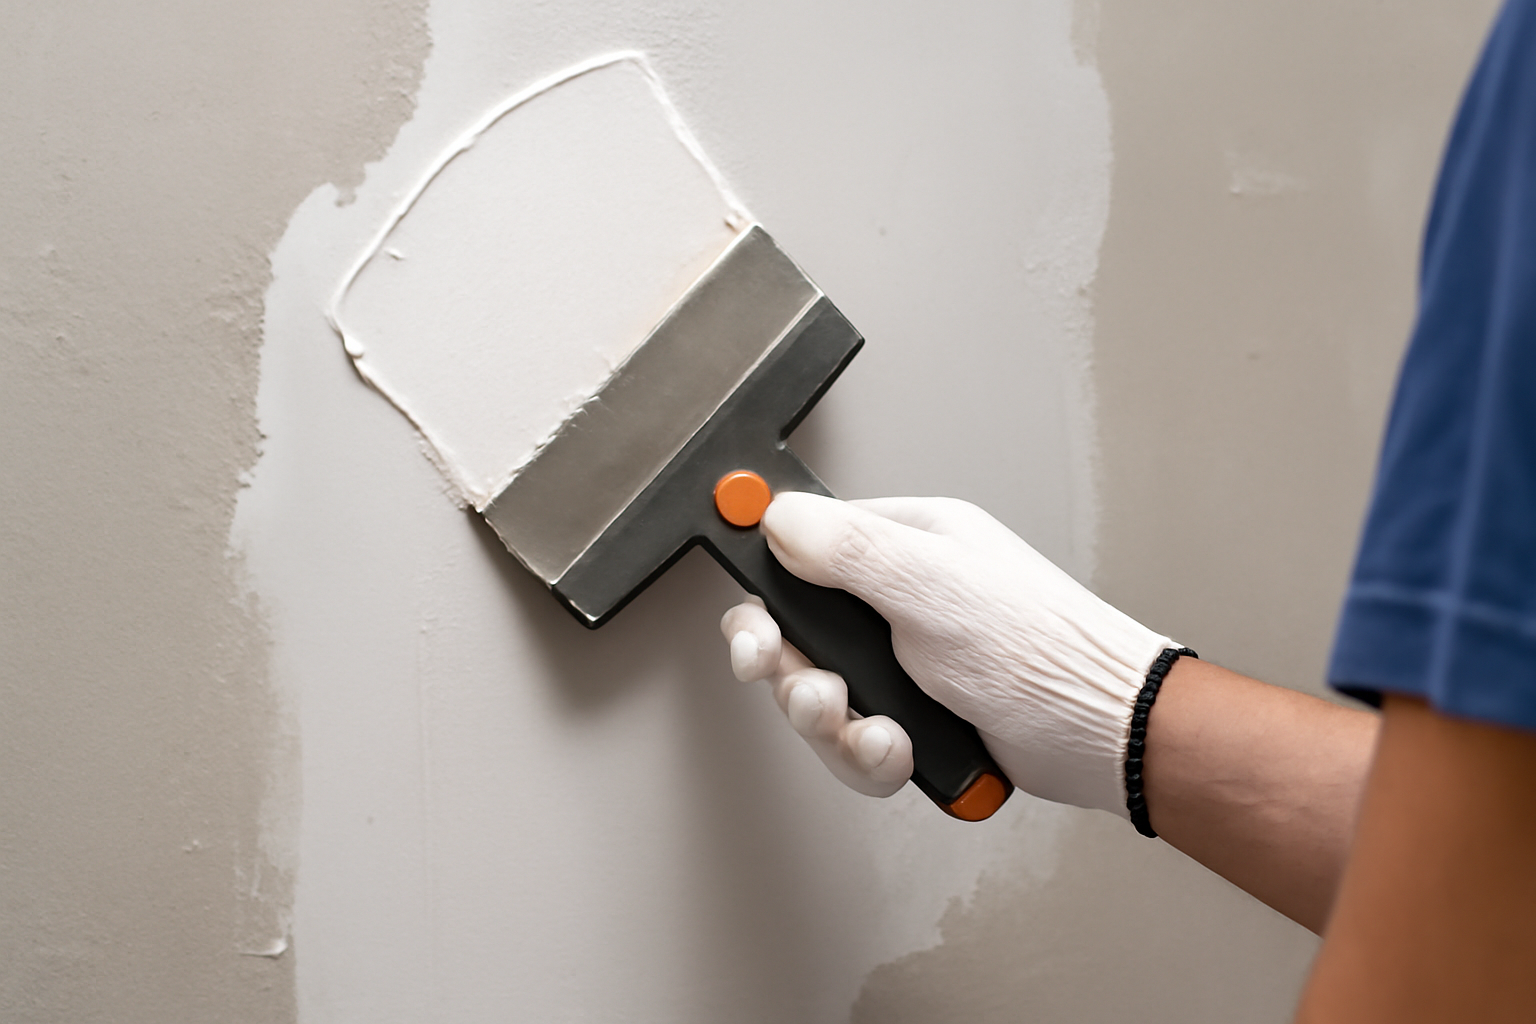
The process typically requires specialized tools including broad knives or trowels, mixing equipment, and high-quality materials. The compound itself usually contains binders and additives like hydroxypropyl methylcellulose (HPMC) which improves workability, water retention, and adhesion properties.
Professional contractors often prefer skim coating because it's more cost-effective than replacing entire wall sections. However, success depends heavily on proper technique and material quality. Air bubbles, the most common problem, occur due to improper mixing, hasty application, or using low-quality additives that don't provide adequate consistency and working time.
How Can You Apply Skim Coat Properly to Avoid Bubbles?
Applying skim coat seems simple until bubbles appear throughout your finished work. This common frustration leads to wasted materials and additional labor hours fixing what should have been done right the first time.
To apply skim coat properly, thoroughly clean and prime the surface, mix compound to a smooth, lump-free consistency, apply with a wide knife in thin layers using consistent pressure, and allow complete drying between coats. Always work in moderate temperatures and humidity for optimal results.

The key to bubble-free skim coating lies in both preparation and execution. I've worked with contractors across Saudi Arabia, UAE, and India who initially struggled with this issue until implementing these seven critical steps:
-
Surface Preparation: Always start with a clean, dry surface free of dust, grease, and loose material. Any contaminants trapped under the skim coat will create air pockets that expand into bubbles. I recommend using a vacuum followed by a damp cloth to ensure complete cleanliness.
-
Quality Materials: The foundation of success is using premium-grade materials. Our HPMC (Hydroxypropyl Methylcellulose) provides superior water retention and workability that prevents air entrapment. Many of my customers switched to our product after experiencing persistent bubbling with lower-quality additives.
-
Thorough Mixing: Mix your compound slowly and thoroughly, allowing air to escape naturally. Using a drill mixer at low speed, start from the bottom and work upward in a circular motion. Let the mixed compound rest for 5-10 minutes before application to release trapped air.
-
Thin Layers: Apply multiple thin layers rather than one thick coat. Thin applications minimize the risk of trapping air and allow for better adhesion and drying. I've seen professionals achieve perfect results with layers as thin as 1-2mm.
-
Consistent Pressure: Maintain even pressure with your trowel or knife throughout application. Uneven pressure creates opportunities for air to become trapped. Work in small sections, keeping a wet edge to blend seamlessly.
What Are the Advantages and Disadvantages of Using Skim Coat?
Many contractors debate whether skim coating is worth the effort and potential complications. Understanding its true benefits and limitations helps make informed decisions for specific project requirements.
Skim coating advantages include creating perfectly smooth surfaces, hiding imperfections, providing uniform paint absorption, and being cost-effective for renovations. Disadvantages include the technical skill required, potential for air bubbles or cracks, multiple-day completion time, and sensitivity to application conditions.

Skim coating offers significant benefits that make it a preferred choice for professional contractors and DIY enthusiasts alike. Based on feedback from our customers across developing markets, I've compiled a comprehensive analysis of the pros and cons that should be considered before choosing this finishing method.
The advantages extend beyond simply creating a smooth surface. Skim coating effectively conceals minor wall defects, fills in small cracks, and covers uneven textures that would otherwise show through paint. It provides excellent versatility, working equally well on drywall, plaster, concrete, and previously painted surfaces. Additionally, it creates a uniform porosity across the entire surface, leading to more consistent paint absorption and color appearance.
However, challenges do exist. The process requires technical skill and practice to master. Even experienced applicators occasionally encounter issues with air bubbles, especially when working in difficult conditions or with inferior materials. The time investment is substantial, as multiple coats with adequate drying time between each are necessary for optimal results. Environmental factors like temperature and humidity significantly impact both application ease and final quality.
| Advantages | Disadvantages |
|---|---|
| Creates perfectly smooth surfaces | Requires technical skill to apply properly |
| Hides wall imperfections effectively | Potential for air bubbles and cracking |
| Provides uniform paint absorption | Time-consuming multi-day process |
| Works on various surface types | Sensitive to temperature and humidity |
| Cost-effective for renovations | Requires quality materials for best results |
How Do High-Quality Additives Improve Skim Coat Performance?
Poor-quality additives lead to frustrating application problems, including air bubbles, poor adhesion, and inconsistent drying times. This compromises the integrity and appearance of the finished product.
High-quality additives like premium HPMC2 improve skim coat by enhancing water retention for longer working time, increasing adhesion to prevent delamination, controlling viscosity for smoother application, and reducing air entrapment that causes bubbles. Quality additives ensure consistent performance across varying conditions.

At WanHong, we've specialized in producing high-performance HPMC (Hydroxypropyl Methylcellulose) additives3 that dramatically improve skim coating results. Through our research and customer feedback, we've identified exactly how these premium additives transform the application process and final outcome.
The most significant improvement comes from enhanced water retention properties. Our HPMC formulations hold moisture within the mix for an extended period, providing longer working time and preventing premature drying that often leads to cracking and bubble formation. This is particularly valuable in hot, arid climates like Saudi Arabia and the UAE, where rapid evaporation presents serious challenges.
Viscosity control is another critical factor. Our additives are engineered to create the perfect consistency that flows smoothly yet maintains position without sagging. This balanced viscosity minimizes air entrapment during mixing and application, directly addressing the bubble formation problem. Many of our customers report up to 80% reduction in air bubbles after switching to our premium HPMC products.
The adhesion enhancement properties of quality HPMC cannot be overstated. By creating stronger bonds between the skim coat and the substrate, our additives prevent delamination and improve overall durability. This is especially important in high-traffic areas or regions with extreme temperature fluctuations.
Additionally, our HPMC products contain special anti-settling agents that keep components evenly distributed throughout the mix, eliminating the inconsistencies that lead to application problems. This homogeneity ensures that each trowel-full performs identically, making the application process more predictable and the results more uniform.
Conclusion
Preventing air bubbles in skim coat requires proper surface preparation, quality materials, thorough mixing, thin application layers, consistent pressure, optimal environmental conditions, and adequate drying time. Using premium additives like Kehao's HPMC significantly improves results, creating flawless finishes every time.
-
Understanding skim coating can enhance your skills in surface preparation, ensuring high-quality finishes in your projects. ↩
-
This link will help you understand the specific advantages of using premium HPMC in skim coat applications for better results. ↩
-
Explore this link to understand how HPMC additives can enhance construction materials, improving performance and durability. ↩